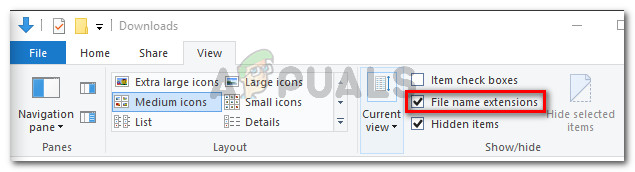
What’s causing the Windows Update Error Code 0xc1900130?
Method 1: Preventing the 3rd party interference (if applicable)
As it turns out, one of the most common culprits that will spawn this error code is AVG. We managed to identify a lot of users’ reports claiming that their free AVG installation was blocking the update from being installed. Note: There might be other 3rd party AV suite that might also cause the same kind of behaviour. Affected users have reported that they were finally able to install the update without getting the 0xc1900130 error only after they disabled the real-time protection. However, other users have confirmed that the issue only went away after they uninstall the security suite altogether. If you’re using a 3rd party suite and you suspect that it might be responsible for this issue, you should start by disabling the real-time protection and seeing if the problem is persisting. With most security suites, you will be able to do this directly from the taskbar menu: Once you do this, restart your computer and see if the issue is persisting by trying to installing the problematic update once again If the 0xc1900130 error is still being triggered, proceed to uninstall the security suite altogether and ensure that you’re not leaving behind any leftover files that might still cause this type of behaviour. If you’re not exactly sure how to do this, follow this article (here) for step by step instructions on getting rid of your 3rd party security suite along with any leftover files. In case this method wasn’t applicable or you followed it to no success, move down to the next potential fix down below.
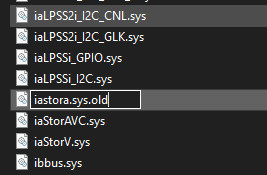
Method 2: Renaming the iastorac.sys driver
As it turns out, the most common reason why this issue will occur in the first place is a software incompatibility between Microsoft and Intel. An issue with the iastorac.sys driver might end up effectively blocking the Windows Update component on Windows 10 PCs using Intel RST drivers. If this scenario is applicable, you should be able to fix the problem by accessing the location of the conflicting driver iastorac.sys and renaming it with the ‘.old‘ extension to force your operating system to disregard it. Several affected users have confirmed that after doing this and restarting their computer, they were finally able to install every pending update without issues. Here’s a quick guide on doing this: If you’re still encountering the same Error Code 0xc1900130 when trying to install the update, move down to the next method below.
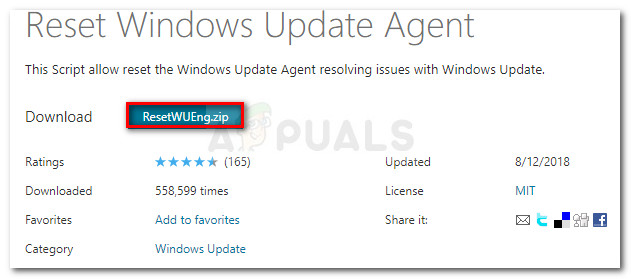
Method 3: Resetting the Windows Update component
As it’s been confirmed by several affected users, this issue can also occur due to some glitch or corrupted dependency that ends breaking the updating process altogether. This issue is much more common on Windows 8.1, but it can also occur on Windows 10. If this scenario applies to your current situation, you should be able to fix the problem by resetting all relevant WU components that are involved in the updating process. When it comes to doing this, you have two ways forwards:
Resetting WU via Automated WU agentResetting WU manually via elevated CMD window
We’ve explained both methods below, so feel free to follow whichever guide you feel more comfortable with:
Resetting WU Via Automated WU agent
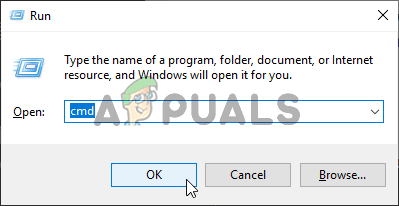
Resetting Windows Update manually via elevated CMD window
If you’re still encountering the same 0xc1900130 error while trying to install a pending update, move down to the next potential fix below.
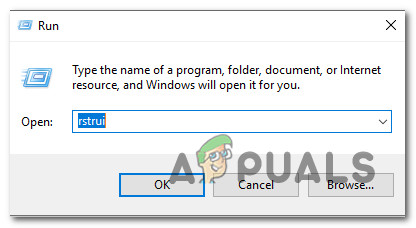
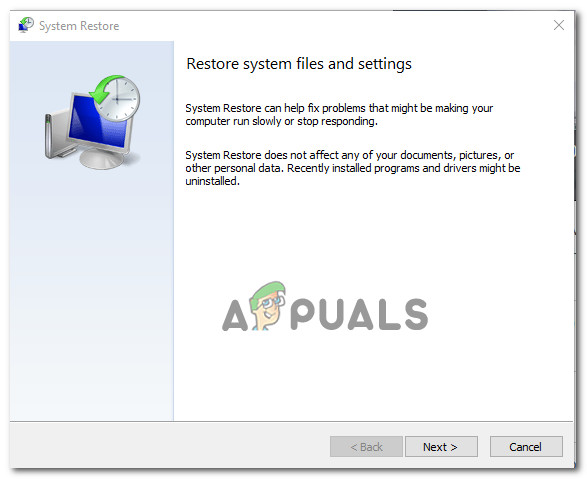
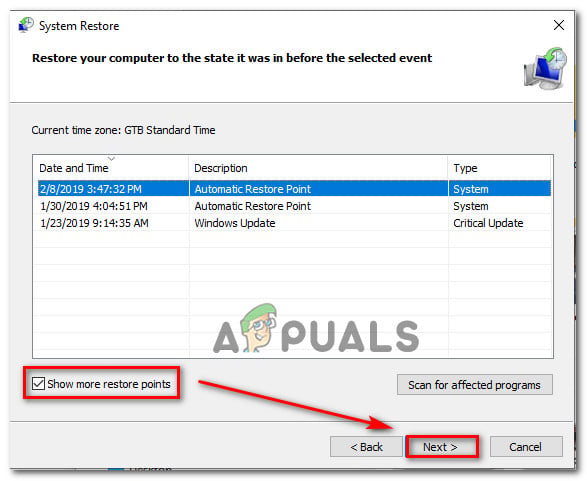
Method 4: Using system restore
If the Windows updating component only started breaking recently after a driver or 3rd party app installation, it’s very likely that whatever you install is currently interfering with your operating system ability to install new pending updates. Several affected users have reported that in their case, iastorac.sys (a loaded driver) was blocking the installation of new updates. If this particular scenario is applicable, you should be able to fix the issue by using System Restore to restore your computer state to a healthy state when this conflict wasn’t occurring. It’s essential to keep in mind that by default, all recent Windows versions (Windows 7, Windows 8.1 and Windows 10) are designed to save new restore snapshots regularly (at important system events). Unless you modified this default behaviour, you should have plenty of restore snapshots to choose from. Note: Before you start following the instructions below, remember that any changes you made after the snapshot was created will be lost once you mount that snapshot using the System Restore utility. Any applications, games, or other system changes that you made during that time will be reverted. If you prepared to go this step and you understand the consequences, start following the instructions below to use the System Restore utility: In case you’re still encountering the same Windows Update 0xc1900130 Error Code, move down to the next potential fix below.
How to Solve Malwarebytes Real-Time Web Protection Won’t Turn on ErrorHow to Solve ‘This Profile Can’t connect to Xbox Live on this Console’ Error?How to Solve the ‘Control Panel Extension is Incompatible with Driver Version’…How to Solve “BLZBNTBGS80000011” Error in Battle.net?