Use VPN on PS4/PS3 through Router
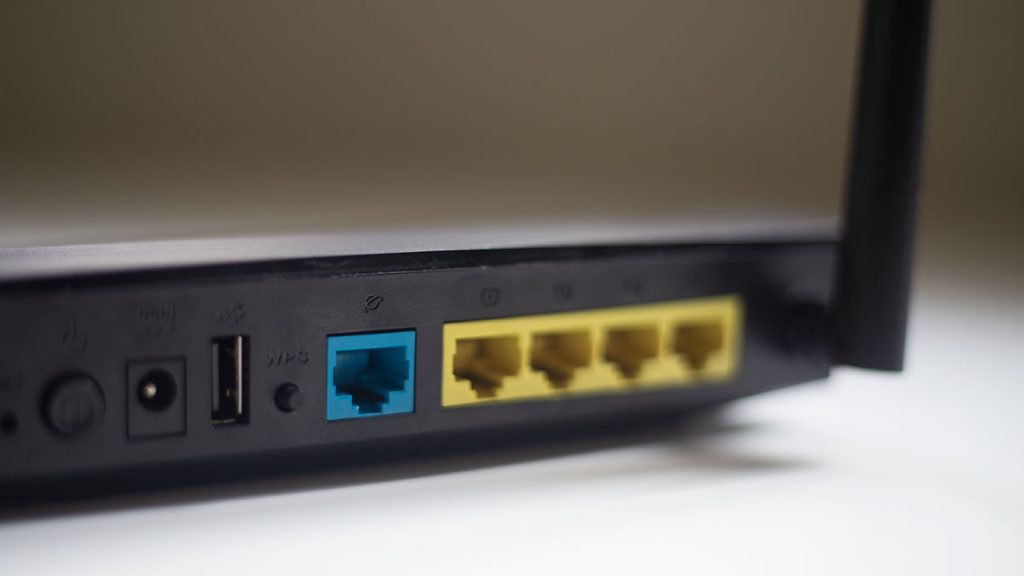
The easiest way to use VPN on PlayStation is by setting up a VPN on your router. There are two ways available to set up a VPN on the router. First, purchase the routers that are pre-configured with a VPN. Even though they are costlier, it is the easiest method to use VPN on PS4/PS3. You can purchase those routers directly from the respective VPN website. For this, we recommend you to purchase the routers that are configured with ExpressVPN. The second method is, purchase the VPN subscription and configure it to the router manually. The main issue with this method is that, depending on the VPN provider and the brand of Wi-Fi router, the installation procedure will vary. For your help, you can get the manual guide and video tutorial directly from the respective VPN website.
Use VPN on PS3/PS4 through Windows PC
This is another way to use VPN on PlayStation consoles. For this method, you have to install the VPN app on your Windows PC. Purchase the best VPN service and install it on your Windows. After installing the VPN software, follow these steps: #1: Connect your Windows PC to the PlayStation console with the help of Ethernet cable. #2: On your Windows PC, open Control Panel. #3: Navigate to Internet Network -> Network & Sharing Center -> Change Adapter Settings. #4: Right-click your VPN service name and open Properties menu. #5: Select Sharing Tab and make sure that box notifying “Allow other network users to connect through this computer’s internet connection” is selected. #6: Now, tap Select a private network connection and click OK. #7: Select your PS4/PS3 Ethernet Connection and click OK. #8: Now, launch your PlayStation and navigate to Settings -> Network Settings-> Set Up Internet Connection -> Select Use a LAN Cable and put the connection method as Easy. #9: When prompted, select Do Not Use a Proxy Server. #10: That’s it. Now, you can access VPN on your PlayStation console without any hassle.
Use VPN on PS4/PS3 through Mac
Just like the PC method, you need to install and run VPN service on your Mac. Now, go through the following steps to access VPN via Mac: #1: With the help of Ethernet cable, connect the Xbox console to Mac. #2: Navigate to System Preferences -> Sharing -> Internet Sharing. #3: From the “Share your connection from” drop-down, click Wi-Fi. #4: From the “To computers using” list, select Ethernet. #5: Make sure that the box to the left of Internet Sharing is enabled. #6: Launch the VPN and connect to your chosen server. #7: Now, go through the Steps 8-10 that are mentioned in the PC method.
Final Thoughts
These are the three easiest methods available to use VPN service on PlayStation consoles. Now, you can access the geo-restricted gaming servers and geo-restricted media’s on your PS4/PS3. There are plenty of VPN services available on the internet. Make sure to select the VPN service which provides access to numerous servers along with advanced security features. Thank you for visiting Techfollows.com. For further queries and feedback, feel free to leave a comment below. Follow our Facebook and Twitter profiles for regular updates.


