Valorant is a hot game these days developed by Riot Client. The game is not officially supported on Mac OS which means it is exclusive to Microsoft Windows. As such, the obvious question is how do you play a game on a platform on which it isn’t supported? As it turns out, using third-party applications, this can be achieved. In order to do this, if you haven’t already guessed, you will need to install Windows on your Mac. That shouldn’t be a shocker if you want to play games on a Mac. Installing Windows on Mac is not really hard. There are various third-party applications that you let do this. On top of that, there exists Boot Camp which is included in Mac OS by default using which you can install Windows. However, there is a limitation to that as all Macbooks are not supported.
1. Boot Camp and Parallels
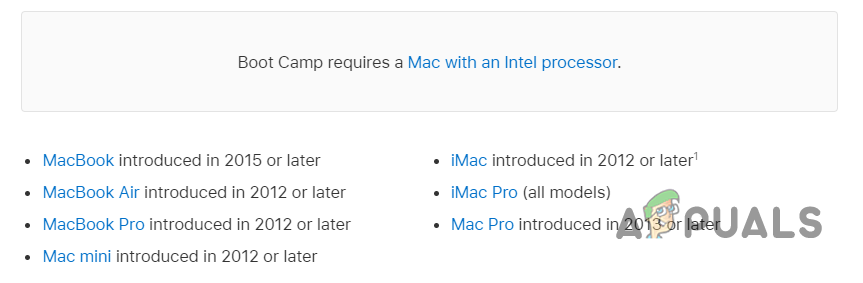
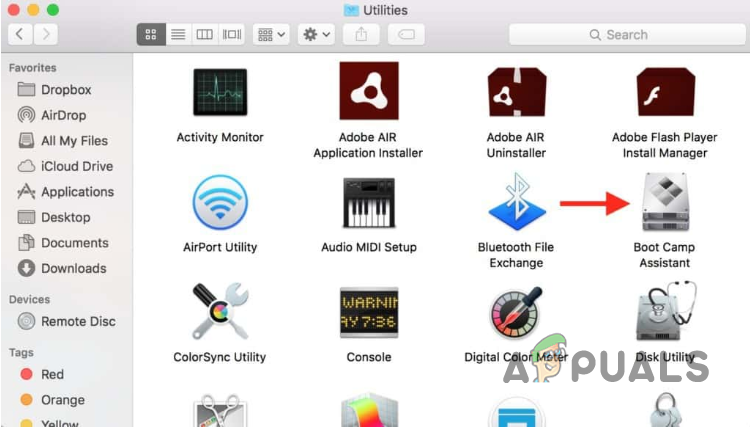
Keeping the thought of installing Windows in mind, there are various options available when it comes down to it. Boot Camp is available on Mac OS directly so no further installation is required. However, if you have the latest Mac M1s, you will not be able to use it to install Windows on your laptop. If this case is applicable, this is where Parallels comes in which can be used to install Windows on almost any Macbook. With that said, let us get started and show you how to first install Windows using both the applications and then follow it up by installing Valorant to ultimately play it on a Mac. So, without further ado, let us get right into it.
2. Install Windows 10 with Boot Camp on Intel Mac
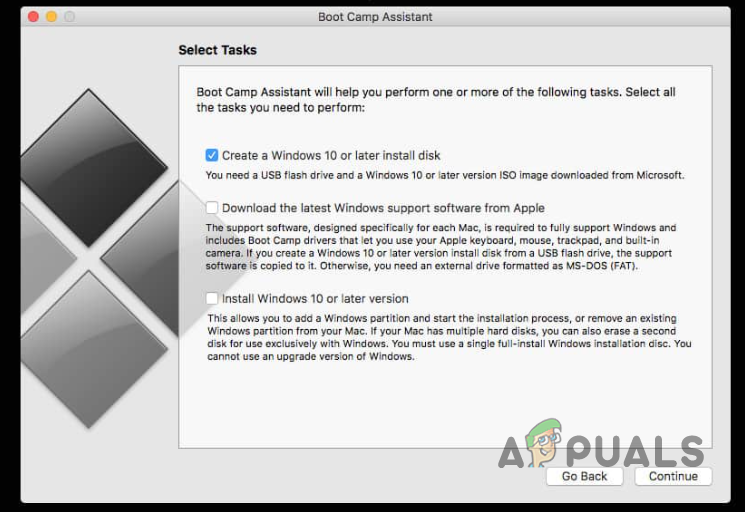
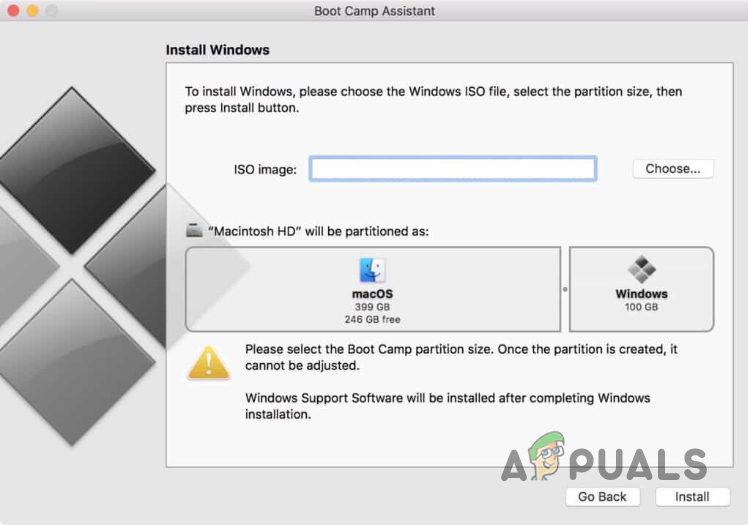
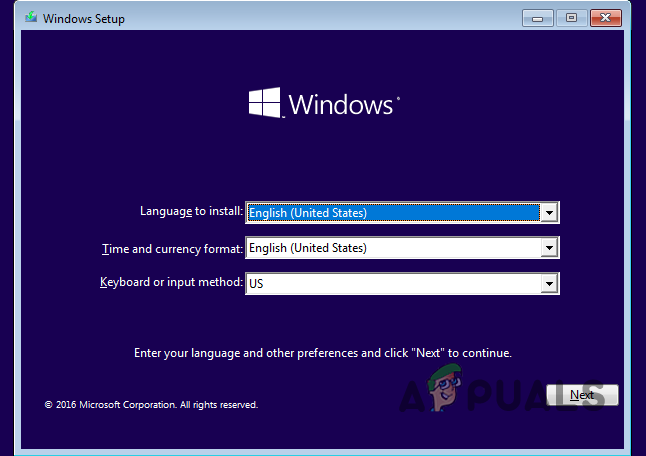
Before we get started with the process, it is important to note that this might be time consuming so make sure that you bear with it. In addition to that, make sure to create a backup of your important data in case something goes wrong. You should follow this method if you have an Intel Mac. In the case of Mac M1s, skip to the next method down below as this won’t work for you. With that out of the way, let us get into it.
3. Use Parallels to Play Valorant on M1 Mac
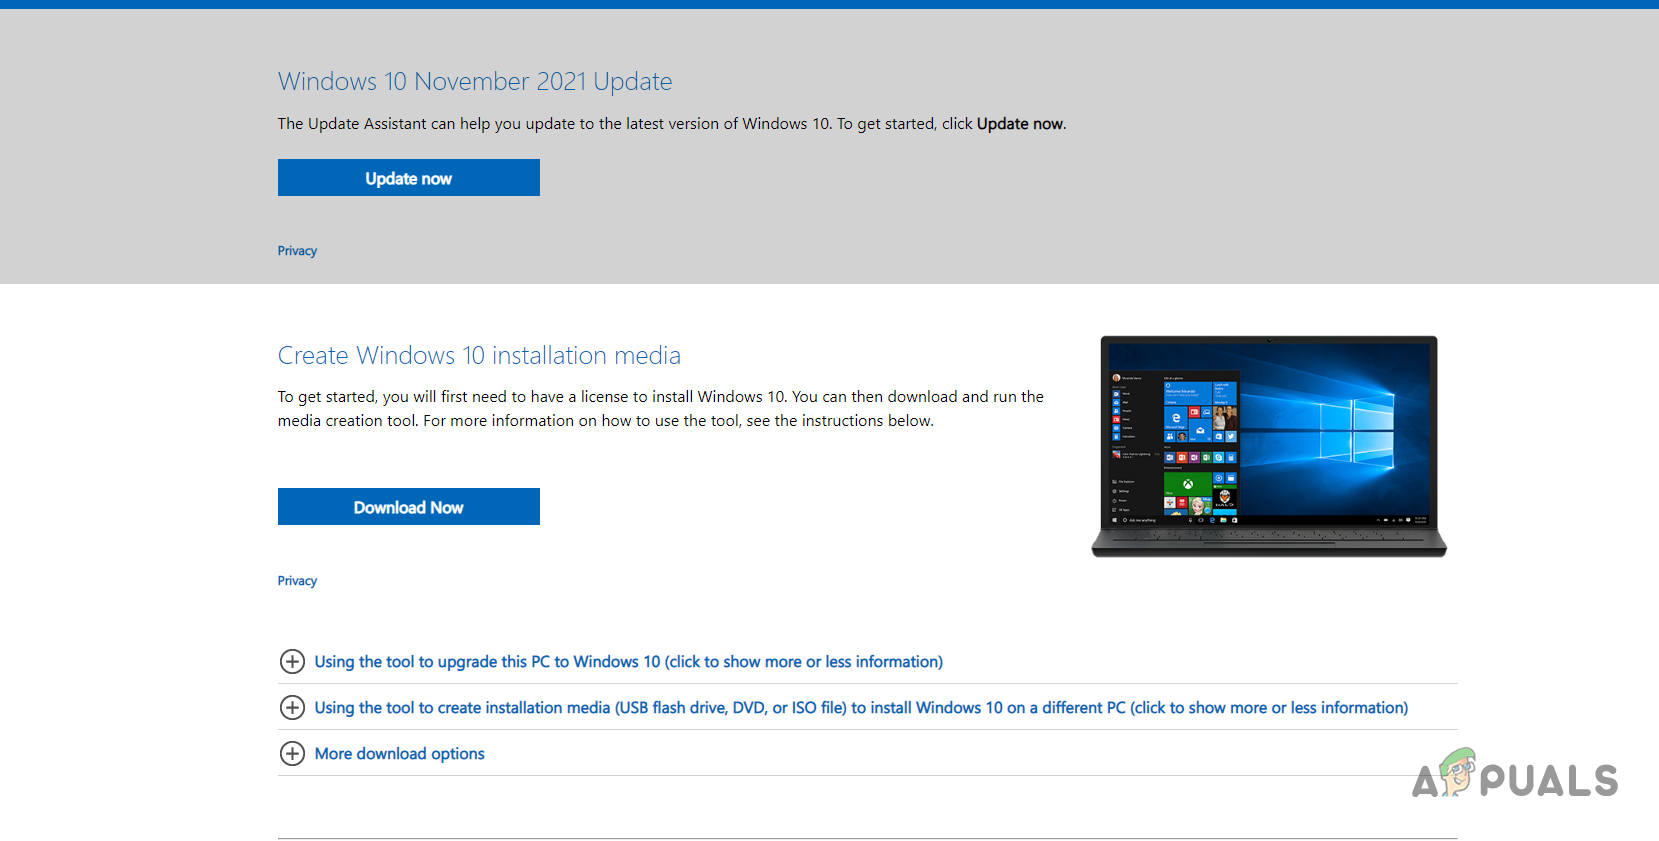
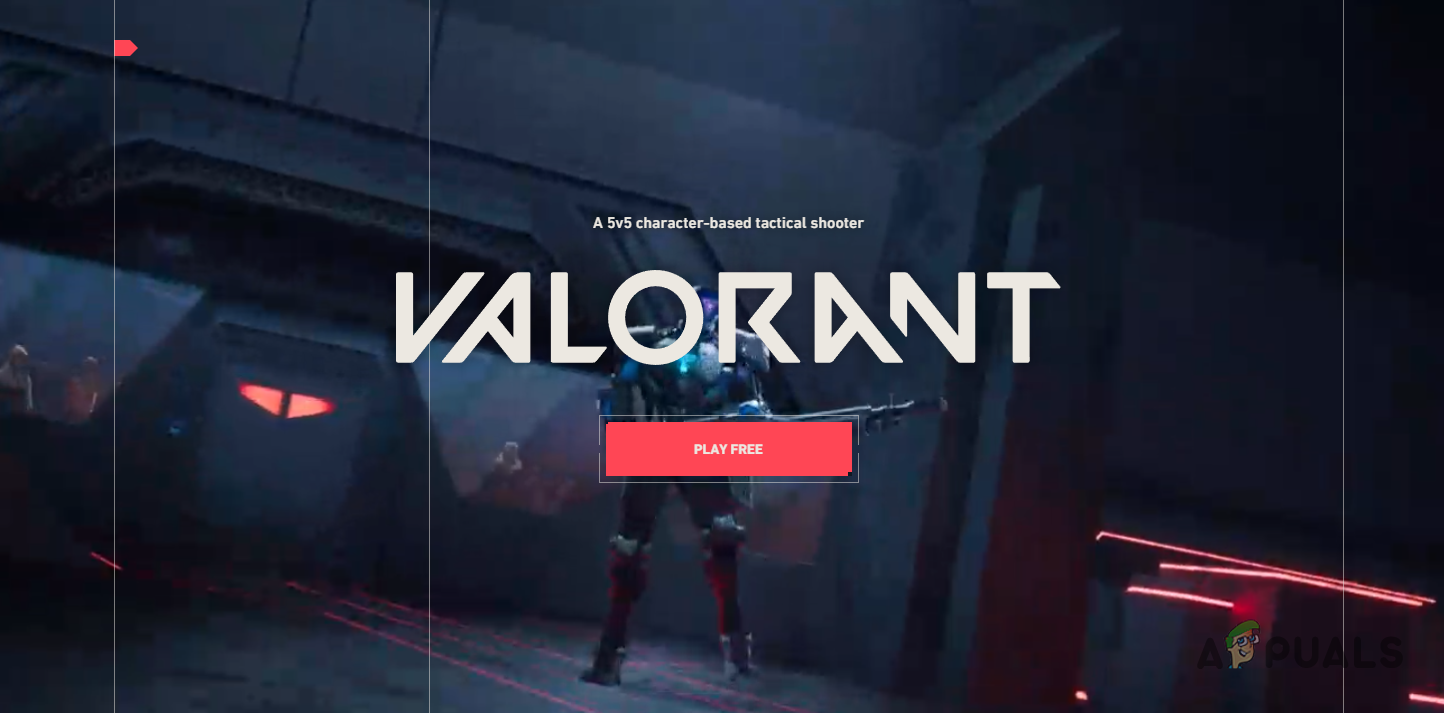
If you are using an M1 Mac, you will not be able to use Boot Camp to install Windows to then play Valorant. This is because M1 Macs use a variant of ARM processors and thus, cannot use Boot Camp to install Windows. In such a scenario, you can use Parallels which allows you to install Windows even on M1 Macs. With that said, it is important to note that Parallels is not a free software and you will have to buy a subscription in order to be able to download and use it. You can buy Parallels via the official website by clicking here. Once you have installed Parallels, all that remains is to install Windows and then follow it up by installing Valorant on your Mac. We have a detailed guide present on our site that takes you through the steps of running Windows 10 on macOS using Parallels so you can follow that for a step-by-step walkthrough. Once you have installed Windows 10, the remaining process is pretty simple since all you need to do is visit the Play Valorant website and download the Riot Client. With the Riot Client downloaded, you will be able to play Valorant on your Mac without any issues. We wouldn’t expect the performance to be on par with Windows but you can try it for yourself to see if it is playable.
Can’t Play the Current Song on Spotify? Try these methodsValorant Mobile Footage Leaks With Active Google Play Store Link & MoreAndroid App ‘Play Store’ Alternative ‘Aptoide’ Launches ‘Google Play Fair’…Google Play Celebrates 10 Years with a New Logo and a 10x Play Points Bonus