What You Need In Equipment
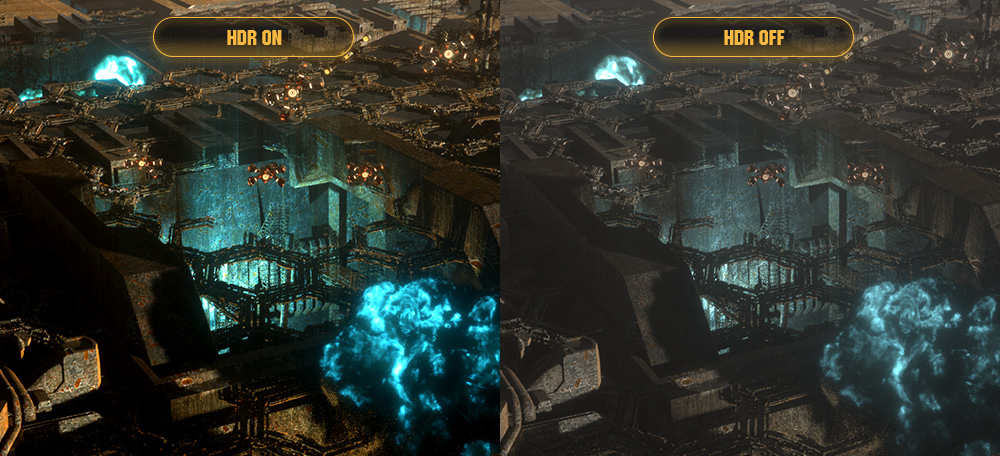
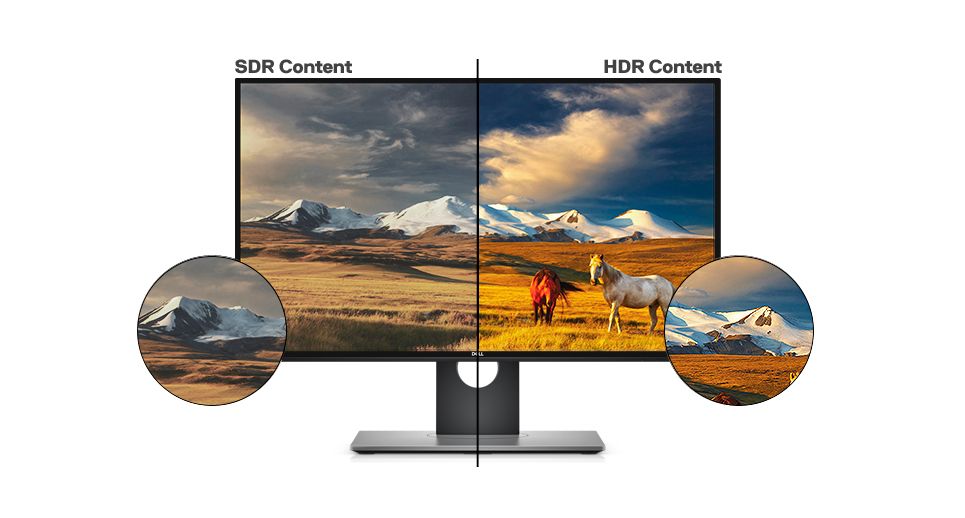
There is no surprise that the most important thing you need is an HDR supporting monitor or TV display. There is no use in sending out HDR signals to a device that is not able to read or display them at their warranted quality. When purchasing an HDR monitor or display setup, keep in mind the nit rating that follows its title. HDR1000 is the ideal 1000 nit HDR display and the higher your nit rating, the more juice you are bound to get out of it. Next, you will need a graphics unit that supports HDR as well. This is where all of your graphics processing will happen so it is paramount to operate on a graphics processing unit that supports HDR. Anything NVIDIA GTX950, AMD Radeon R9 380, or Intel Kaby Lake onwards in those respective lines will work well for this. You should look into the manufacturer description of your preexisting system GPU or consider trading up for a better one if you’ve got one that doesn’t support HDR. The third piece of hardware completing the link between your host processing device and display setup is your HDMI or Display Port cable. It is important to invest in a sturdier high-speed one that can support 18 Gbps of data to get a 4K signal out of it. Look at the manufacturer’s stated capabilities of your cable and consider investing in a better one if you do not have one with this level of compatibility, to begin with.
What You Need To Do In Tweaks
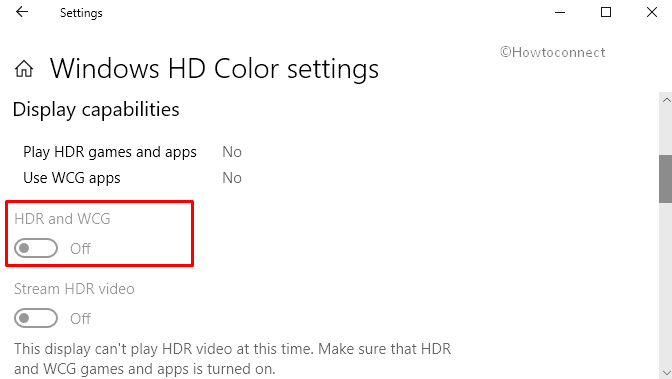
The first and most important software adjustment to perform is to ensure that your device is up to date. Perform any pending Windows updates you have been putting off because you just don’t have the time to wait around for them to take place. Do them now. You will need the latest version of Windows to enable HDR and you want to ensure that all your device drivers are up to date as well. Next, to enable the HDR in your system, first of all, head into your monitor or display device’s own hardware picture settings and ensure that a deep color or maximized input signal setting is turned on. The name for this setting will vary from manufacturer to manufacturer depending upon which display setup you’ve purchased. Now head into your Windows Settings. Head into the Apps menu and then select Video Playback. Head into the Windows HD color settings in here and make sure that you’ve toggle both Play HDR Games and Apps and Stream HDR Video. Based on your personal preference, you may want to stick to the RGB color scheme or tweak it to a 4:2:2 or 4:2:0 ration based upon which monitor you are running. This is a completely personal preference based and will not affect the HDR quality that you are running. Most find the default settings to work best but some choose to change the color scheme up a bit. Do keep in mind that if you choose to switch up the 8-bit color depth to 10-bit, your HDMI signal won’t carry that as well as the 4K HDR signal you’d like at 60 Hz. There will be a bit of a trade-off so tweak your color settings accordingly.
Final Thoughts
Once you have configured your device’s software and hardware to operate in HDR, keep in mind that this is only going to be useful for games or movies that actually come out in HDR as well. Check your game’s HDR compatibility and find video content that is supported in HDR as well to truly enjoy the new tweaks you have set out. If at any point you feel that the quality is lacking (which is a rare case), check your HDMI cable or switch ports. There is a minute quality difference from port to port and the cable can either wear out or not operate at its set optimum, compromising the HDR signal you are trying to send forward.
How to Enable or Disable Auto HDR on Games on Windows 11How to Check If HDR is Supported on Windows 11Nvidia RTX 2080 vs GTX 1080 Gaming Benchmarks: 4K 60Hz HDR Gaming Out Of Box, Up…Fix: Black Screen HDR After Adjusting Volume