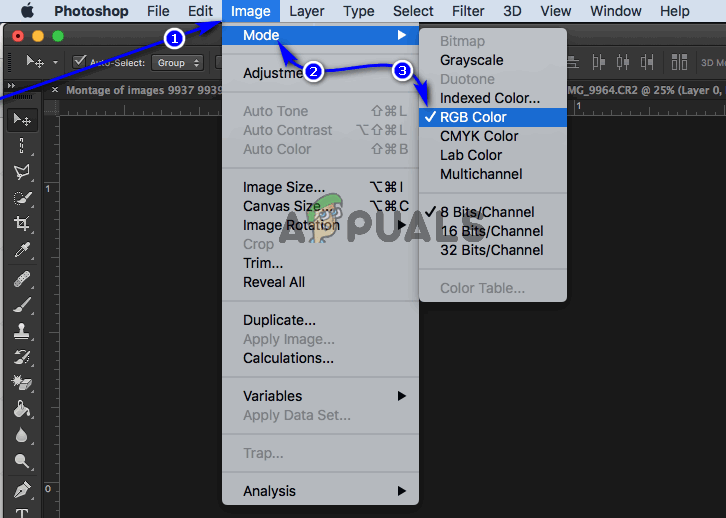
Developing your images like people used to back in what now might as well be the Stone Age just so the photographs have a sepia tone would be quite ludicrous. Thankfully, the sepia tone has now been popularized as an ‘effect’ that you can digitally apply to any image you capture using a recording device. Applying a sepia tone to photographs is something that every image editor out there, regardless of complexity, is capable of doing – from the devilishly basic image editor that you used to have on that flip phone of yours to Photoshop, the epitome of image editing software. Using Photoshop to add a sepia tone as an overlay to any existing image is a pretty simple procedure, and here’s how you can go about it:
Adding a Sepia Tone to Images in Photoshop 2015
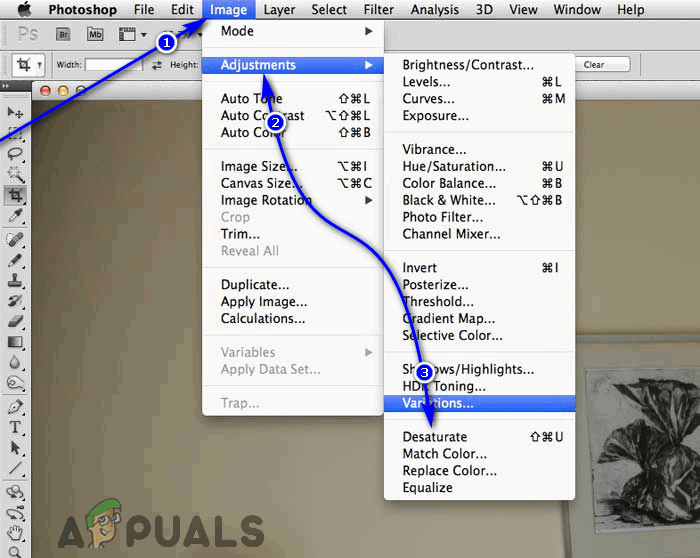
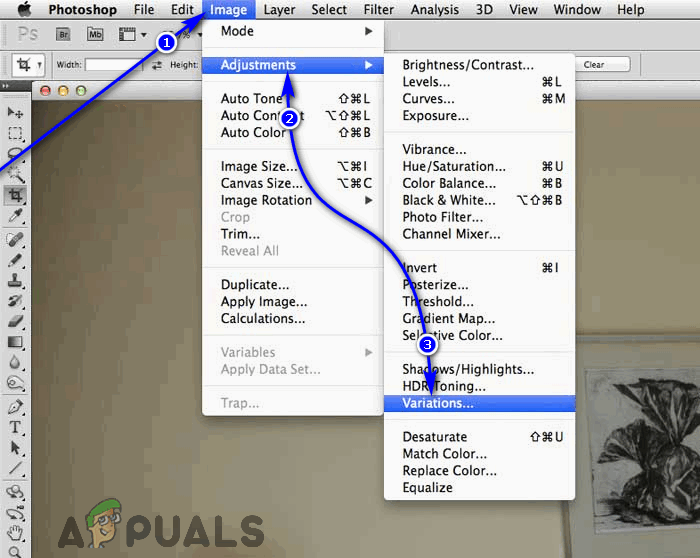
If you’re using Photoshop 2015 and are looking to add a sepia tone to any image, you need to: You can experiment with the many options you have within the Variations dialog to apply tints of a variety of different colors to your images.
Adding a Sepia Tone to Images in Photoshop CS6 and CC
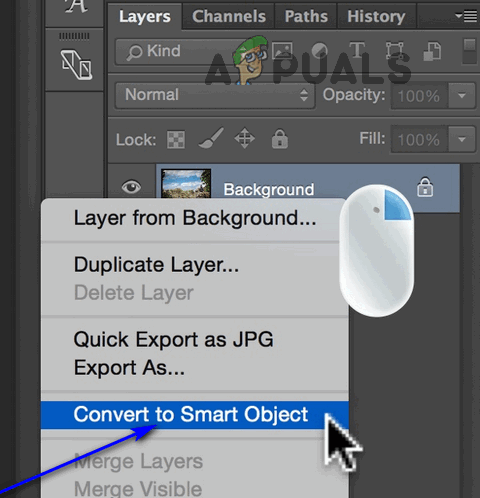
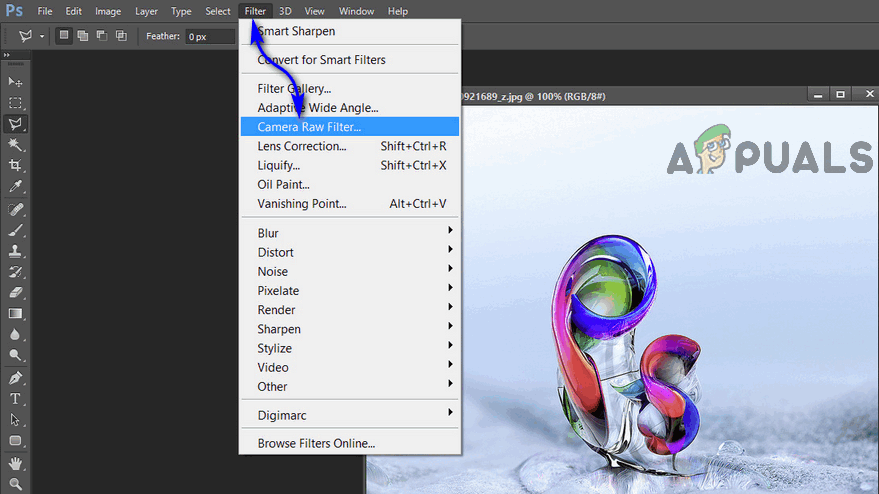
If you’re using Photoshop CS6 or CC, you can also apply a sepia tone to any image you want using the Camera Raw Filter. This option is viable only for users of Photoshop CS6 and Photoshop CC. If you would like to use this option, you need to: Applying a sepia tone to an image is a task virtually every image editing application out there is adept at, but if you’re looking for the absolute best and want to use the absolute best, Photoshop is the way to go.
Photoshop Without Photoshop - 7 of the Best Open-Source & Free Photoshop…How to Fix “Failed to play test tone” error on Windows 7, 8 and 10How to Disable and Enable True Tone on Your iPhone 8 / 8 Plus or iPhone XHow to Blur/Fade Edges of an Image/Shape on Adobe Photoshop
