How To Setup All The Necessary Peripherals With Raspberry Pi?
Firstly, we will gather all the components which are the backbone of this project and then we will set up all those step by step to make the final home theater.
Step 1: Components Required.
Step 2: Selecting the Raspberry Pi Model
Several models of raspberry pi are available in the market. Except for raspberry pi zero, any model can be preferred. This is because on Pi zero setting up a network is a very tiring job. The latest models like 3A+, 3B+ or 4 can be purchased. The new Raspberry Pi 3 is the quickest and most dominant gadget the Raspberry Pi Foundation has released to date. So, in this project, we will use the Raspberry Pi 3B+.
Step 3: Choosing The Operating System
Firstly, we will need an SD card with an appropriate operating system. When picking the OS, nowadays there are various alternatives, from “conventional” Raspbian to devoted media working frameworks, and even Windows 10 IoT. There is no need for lots of applications hence, we should leave the Central Processing Unit (CPU) and Random Access Memory (RAM) as much as we can for the media streaming application. One problem is that Arch Linux is recommended for people who have quite a lot of Linux knowledge. They’re very front line and we’re bound to keep running into issues when introducing third-party applications and libraries. Thus, if this is your first establishment of a home theater, we suggest picking Raspbian Lite. It’s command-line driven, and can without much of a stretch designed to keep running in “headless” mode, i.e. accessed entirely remotely over the system with no requirement for a console or screen.
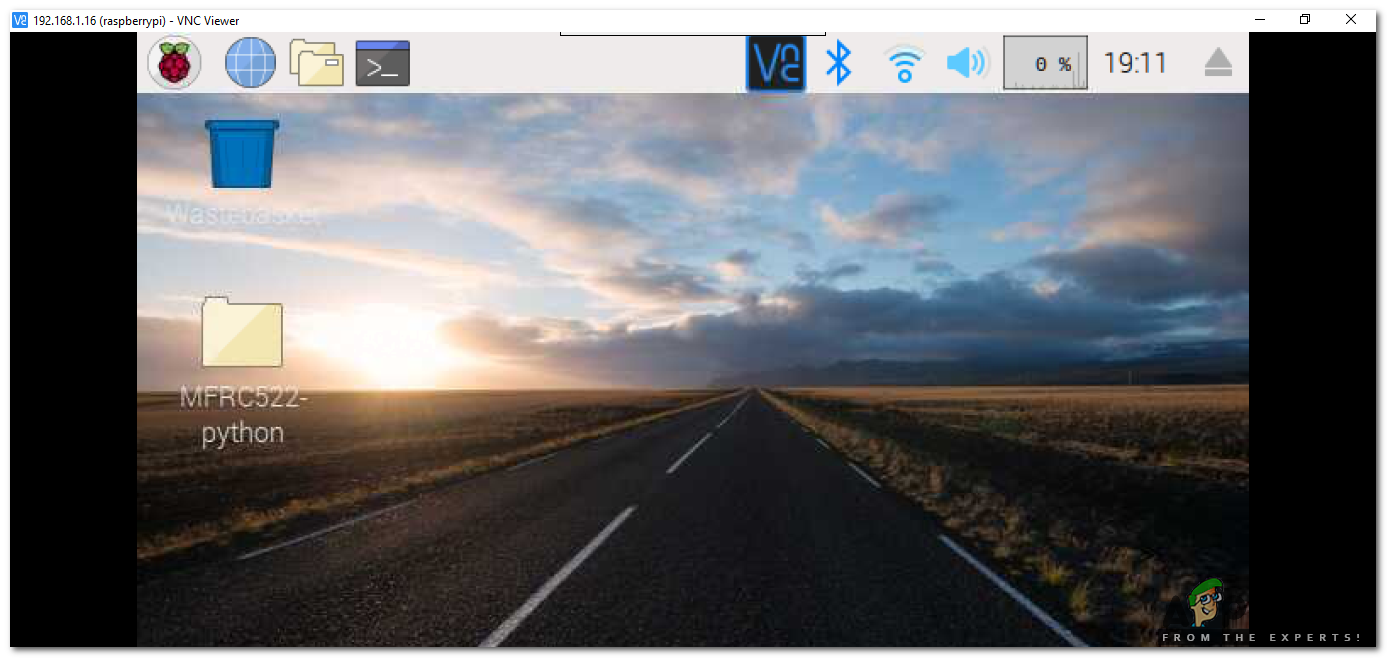
Step 4: Make Sure That Raspberry Pi Is Up To Date
Keep the sources of your Pi up to date otherwise, the outdated software will cause some problems. Enable the Virtual Network Computing (VNC) viewer on your Pi, then connect your Raspberry Pi with the VNC viewer. The link is provided below for downloading VNC and then connecting it with Pi. VNC Viewer Now, open the terminal and run the following command : Then, Numerous packages will be installed and if asked press Y and then Enter to install them properly.
Step 5: Login To Raspberry Pi
The default username of the Raspberry Pi is pi and the default password is raspberry. These are the default login details and on your first login use these details to log in to pi. You can change these details too whenever you want.
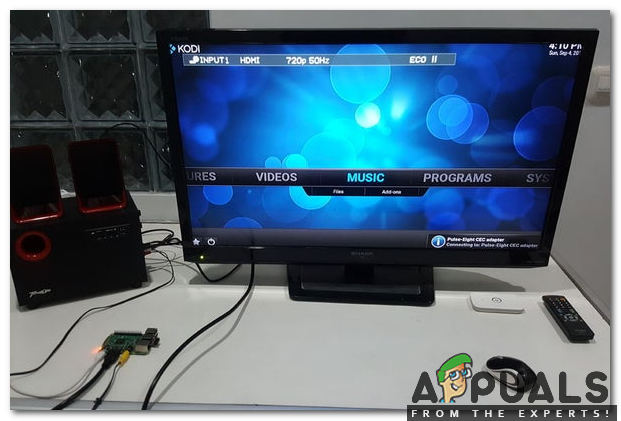
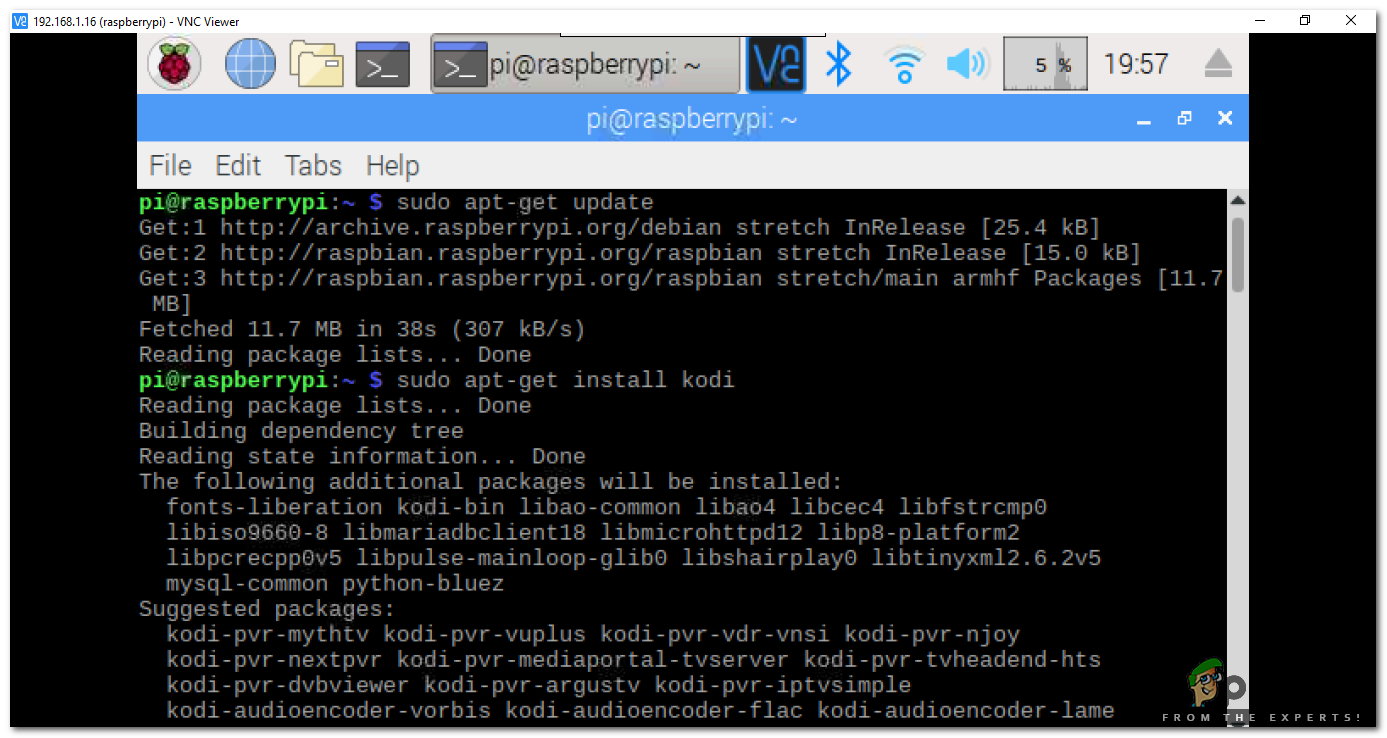
Step 6: Install Kodi On Raspbian
Kodi is one of the most mainstream media focus applications on earth. It makes it easy to organize local files and watch streaming media on a wide variety of devices, all with the same highly customizable interface and user-friendly features. Installation of Kodi is a simple task, after logging in to raspberry pi type the following commands: Then,
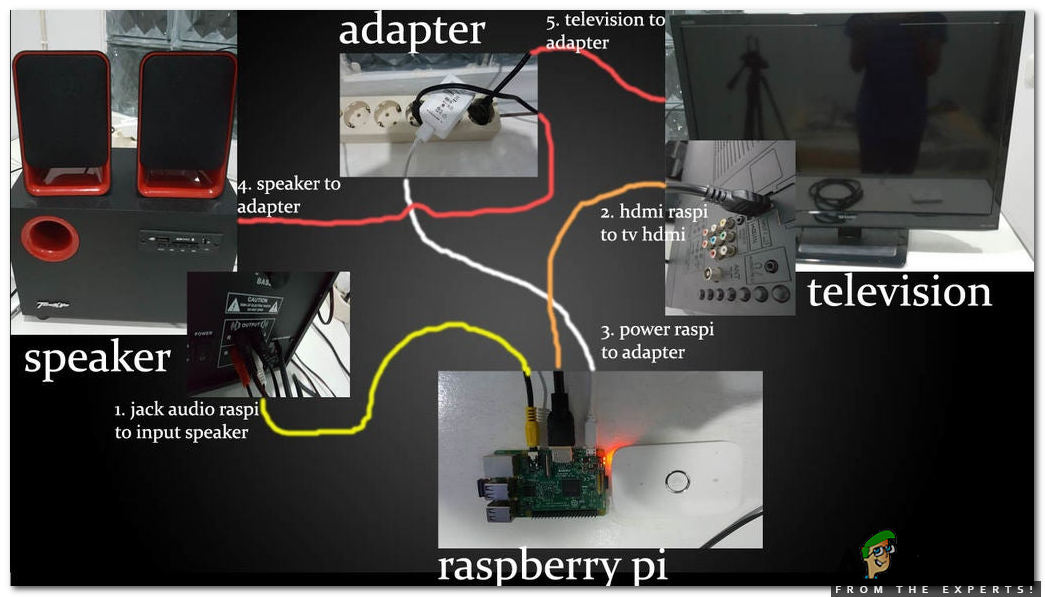
Step 7: Connect All The Peripherals
Now, connect all the peripherals according to the figure below and the following points can be made under consideration while doing the connections:
Step 8: Doing Some Configurations
Now we will configure Kodi so that we can control our home theatre through our mobile phone or tablet. Just do the configurations step by step to set your home theater. Port: 8080, Username: kodi, Password: kodi1234
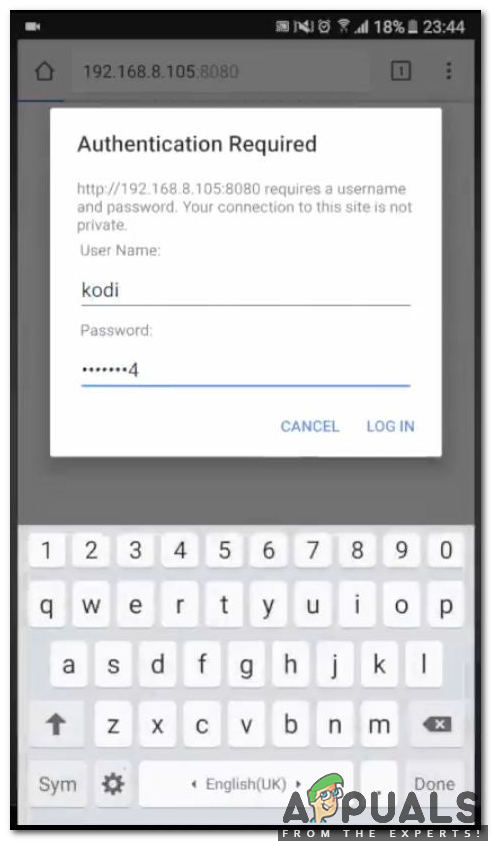
Step 9: Setting Up Mobile Phone
Now, grab your handset and open the browser and type the IP static and port. After that input the username and password. As you have done that go to Remote Menu and it will appear the remote control. Now, as we have done all the configurations we can play videos, music or show many pictures in the gallery. If you like entertaining and inviting family and friends over, your home theater will certainly lure them in. Game days to movie nights, slumber parties to special events, your home will be the go-to spot for all things entertainment.
What are the benefits of a Home Theater PC (HTPC)?How to Build a Perfect Home TheaterHow To Make IOT Smart Garage Opener Using Raspberry Pi?How To Make Smart Home Automation System Using ESP32 Module?