While the xmag screen magnifier program can be accessed from the run box, you can just as easily add it as a .desktop link for most GNOME, Xfce or LXDE based desktop environments. Keep that in mind as you look at the file name given here. You could also make it a shortcut inside of Unity or KDE, so you have a number of options to work with depending on the type of environment you use.
Magnifying the Screen with xmag
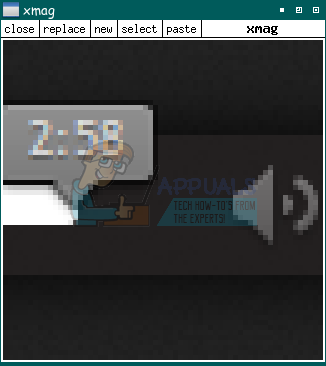
We’ll assume that you’ve held down the Windows key and pushed R to open a run dialog box, but this will also work as the exec= line in a desktop link. When you’ve accessed the box type xmag and then tap okay. Your cursor will change to a small box with a framed corner on it. Maneuver this outline over whatever object you want to magnify. A box will pop up with a pixilated magnification image.
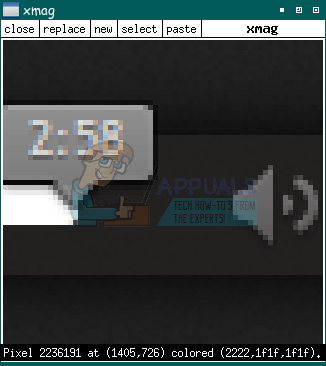
In many cases this will have already helped you to see whatever it was that you were trying to look at. If text was too small over something, then you should be able to read it now. If you need to take another magnification and don’t mind loosing the current one, then tap the replace button to start the process over again. If you’d prefer to keep the current window open, then tap new and start the process once more. You’ll have a second box pop up without eliminating the first. To save a magnification, take a screenshot by holding ALT and pushing Print Screen. You can edit the screenshot in GIMP. If you’re interested in finding more about the color depth of the magnified image, then hold down the mouse button while dragging the cursor over the window. You’ll see text specifying information about each pixel on the bottom.
How to Know if You’re Using SSD or HDD Parts in LinuxBEST GUIDE: iPhone 5s Screen Replacement Procedure and PartsXbox Series X Will Allow Players To Uninstall Differents Parts of the GameWindows 10 Now Has Arch Linux Along With Ubuntu, SUSE And Other Complete Linux…