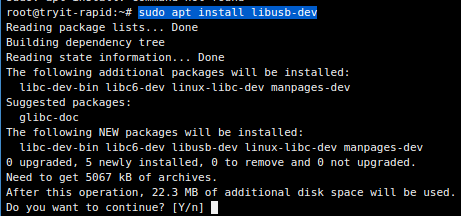
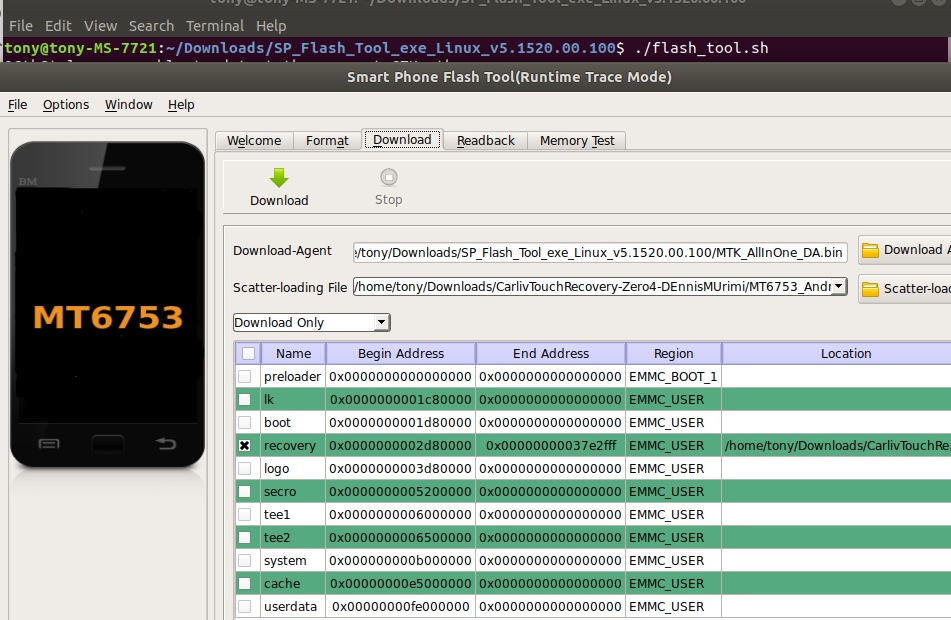
However, the latest versions of Ubuntu (16.04 – 17.10) have made changes to certain dependencies, and getting SP Flash Tool to communicate with your Mediatek-based Android device can be somewhat of a headache if you’re running one of the latest Ubuntu versions. This guide will show you how to properly set up the dependencies required for SP Flash Tool on Linux. Requirements: First you need to download and install the libpng12-0 package – SP Flash Tool is dependant on this package, but it was not included in the latest Ubuntu releases. So you will need to download and install it manually. Just right click on the .deb file and choose “Open with Software Install”. You also need to install install libusb-dev package, so run: sudo apt-get update sudo apt install libusb-dev
Now download the latest SP Flash Tool for Linux, and extract it anywhere on your computer. I just left it inside the Downloads folder, it works fine. Now right click on the newly extracted SP Flash Tool folder and choose “Open in Terminal”. In the terminal type the following commands: chmod +x flash_tool sudo adduser username dialout newgrp – dialout And now you can run SP Flash Tool by typing in the terminal: ./flash_tool.sh
Troubleshooting
Phone will not connect / USB port not found: Open a terminal and run: dmesg | grep usb
Now look for your MediaTek device entry, and copy the idProduct string. Now in the terminal, type:
And then add the following line (replacing the idProduct with yours) to the file, and save. SUBSYSTEM==”usb”, ACTION==”add”, ATTR{idVendor}==”0e8d”, ATTR{idProduct}==”*“ If the terminal displays dialogue about timing out while trying to find the USB port, it may help to keep disconnecting your phone and trying different USB ports. If you receive the error “S_BROM_CMD_JUMP_DA_FAIL (2035)” Make sure you installed libusb-dev as instructed earlier in this guide. If so, we will need to blacklist Ubuntu’s modem manager (because it controls port /dev/ttyACM0, which is disabling SP Flash Tool from running properly). Type in the terminal:
Then insert these two lines into the text file: ATTRS{idVendor}==”0e8d”, ENV{ID_MM_DEVICE_IGNORE}=”1″ ATTRS{idVendor}==”6000″, ENV{ID_MM_DEVICE_IGNORE}=”1″ Then in the terminal: sudo service udev restart
Ubuntu 18.04 LTS Bionic Beaver Officially Available for Ubuntu, Kubuntu,…How to Install Kali Nethunter on Mediatek Android DevicesUltimate Pixel XL Android 9 Pie Guide to Rooting, Flashing, and ModdingHow to: Create an Ubuntu Bootable USB on Mac, Windows or Ubuntu


