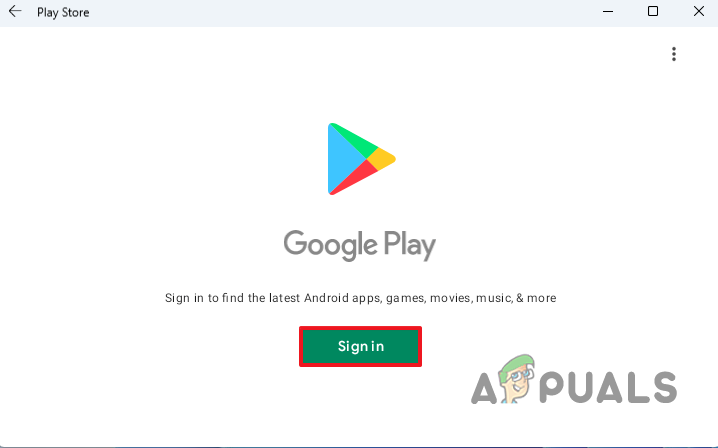
Before we begin, it is important to mention that the process ahead can be tedious for some as it is a lengthy one. However, once you have managed to make it work, it is worth all of the effort. With that said, let us get started and show you how to install Google Play Store on Windows 11 Subsystem for Android.
Requirements for Installing Google Play Store on Windows 11
As is to be expected, to install the Google Play Store, you will have to go through several steps which include setting up different tools via the command prompt. Despite that, you do not have to worry at all as we will be going through each and everything in quite a detail so you just have to follow through carefully. You are going to need the following things to install Google Play Store: Windows Subsystem for LinuxWindows Subsystem for Android7-Zip or any other extraction softwareOpenGAppsWSAGAScriptAndroid Debugging Bridge
Uninstalling Windows Subsystem for Android
As it turns out, to be able to run the Google Play Store, you will have to install a modified version of the Windows Subsystem for Android. Therefore, since you can’t run the modified and original versions of the Windows Subsystem for Android, you will have to uninstall the original from your computer. Follow the instructions down below to remove the installed WSA from your computer:
Installing Windows Subsystem for Linux 2
Now that you have removed the original Windows Subsystem for Android from your system, it is time to install the Windows Subsystem for Linux 2 on your computer. Installing WSL2 is pretty simple and can be done via a single command. In case you have already installed Windows Subsystem for Linux 2 on your computer, then you can skip this and jump to the next step down below. Otherwise, follow the instructions given down below:
Enable Developer Mode on Windows 11
After installing Windows Subsystem for Linux 2 on your computer, it is time to enable Developer Mode on your computer. Doing this will enable you to install applications on your computer from any source. Follow the instructions given down below to do this:
Downloading Windows Subsystem for Android
As we have mentioned before, to be able to run the Google Play Store on your Windows 11 machine, you will have to install a modified version of the Windows Subsystem for Android. To do this, you will have to first download the WSA package. Follow the instructions given down below:
Download Open GApps
Now, you have to download the Open GApps tool on your computer. To do this, follow the instructions given down below:
Download WSAGAScript
As it turns out, at this point, we will be downloading WSAGAScript on our computer which essentially is a script that is used to install Google Apps into a WSA image. Follow the instructions given down below to download the script:
Install 7-Zip
After downloading WSAGAScript on your computer, you are going to need to install 7-Zip to retrieve certain files from the various packages that we have downloaded until now. To do this, follow the instructions down below:
Download Android Debugging Bridge Toolkit
Finally, the last thing that you are going to need on your computer is the Android Debugging Bridge which is also referred to as ADB or SDK Platform Tools. To download the toolkit, simply click on this link and then click the Download button to begin the download process. Once you are done with that, it is time to start setting everything up.
Create Required Folders
Now that we are done with the tedious process of downloading all the required tools, it is time to start setting everything up. For this, you will be creating three folders in your system partition which is usually the C: drive. To do this, follow the instructions given down below:
Extract Files to WindowsSubsystemAndroid Folder
At this point, we are going to start the process of setting up everything to create a custom version of the Windows Subsystem for Android. To do this, follow the instructions given down below:
Extract Files to GAppsWSA Folder
Now, we will be extracting the WSAGAscripts files to the GAppsWSA folder which will allow us to modify the original version of the WSA. To do this, follow the instructions given down below:
Extract Files to ADBKit Folder
Finally, we are now going to extract the ADB files to the ADBKit folder. To do this, follow the instructions that are provided down below:
Copy WSA Image Files
Before we move on to modifying Windows Subsystem for Android, we will first have to copy some image files of WSA. To do this, follow the instructions down below:
Modify Windows Subsystem for Android
After doing all of that, we are finally ready to modify the original version of the Windows Subsystem for Android and make our custom version to be able to install Google Play Store. To do this, follow the instructions given down below:
Install Modified Version of Windows Subsystem for Android
Now that we have a modified version of the Windows Subsystem for Android, it is ready to be installed on the system. To do this, follow the instructions down below:
Set up Google Play Store on Windows Subsystem for Android
At this point, we have successfully installed Windows Subsystem for Android on our systems. As it turns out, now, we are ready to finally set up the Google Play Store. To do this, follow the instructions given down below: Once you have followed all of the instructions above, you should now have the Google Play Store working on your computer. You can use it to install any Android app on your computer, have fun.
Android App ‘Play Store’ Alternative ‘Aptoide’ Launches ‘Google Play Fair’…How to Fix WSA Not Working on Windows 11?Google Play Celebrates 10 Years with a New Logo and a 10x Play Points BonusHow to Fix Google Play Store Error Code 920


