According to many affected users, this type of problem originates in various different culprits. Here’s a short list of scenarios that you should be aware of: Now that we have gone over every potential reason why you might be experiencing this type of issue let’s go over a series of verified fixes that other users experiencing the 0x800f0806 error have successfully used to get to the bottom of this problem.
1. Run the Windows Update Troubleshooter
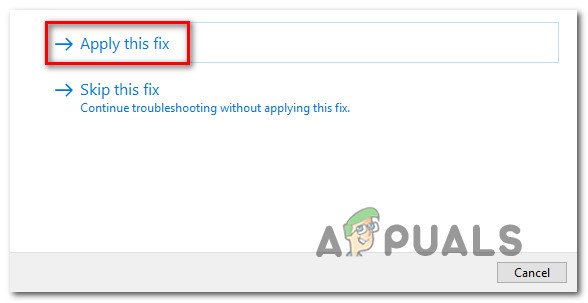
In most cases, you should be able to fix this problem by simply using the Windows Update Troubleshooter and following its instructions. This method will be helpful when a service reliance causes the cumulative update to fail by being stuck in an ambiguous state. Running the software and applying the suggested hotfix should address the problem if the Windows Update Troubleshooter has identified a Microsoft repair plan that addresses the error’s primary cause. The Windows Update Troubleshooter should be able to automatically recognize and resolve typical problems for you, even if you’ve never used it before. Note: Since you are already running Windows 11, you are lucky because subsequent program versions are far more thorough than earlier ones. If a recognizable cause is found, Microsoft has offered several new automatic repair methods that may be started in a matter of seconds. The program now includes these new mending techniques. Please make sure you adhere to the instructions given below if you haven’t previously to successfully run the Windows Update Troubleshooter and have the proposed fix implemented instantly: Continue to the next procedure below if you are still unable to install updates KB5017321 or KB501738 on your Windows 11 computer.
2. Start all required WU service dependencies
One further potential explanation for this problem is that your machine may be configured such that some Windows Update service needs are disabled. This is typically the result of a tool intended to use system resources as efficiently as possible. In this case, the incorrect behavior could be corrected by manually modifying the actions of the involved service dependencies. To maximize the effectiveness of your system, some of these service requirements may have been modified to stay disabled. This could be the case if you are currently using resource management solutions that actively start and stop system services. To ensure that Windows Update has all it needs to finish the upgrading process effectively, you must set the following services to AUTO mode:
BITS (Background Intelligent Transfer Service)The CryptSvc (Cryptographic Services)TrustedInstaller
Note: By utilizing an elevated Command Prompt to verify that the commencement type of each of these services is set to Auto, you may effectively ensure that all WU service requirements are satisfied. Doing this may ensure that all WU service requirements are fulfilled. To change the behavior of these services to AUTO and ensure that Windows Update may use the service dependencies as necessary, follow the procedures below: If the same problem is still occurring even after ensuring every Windows Update service dependency is enabled, move down to the next method below.
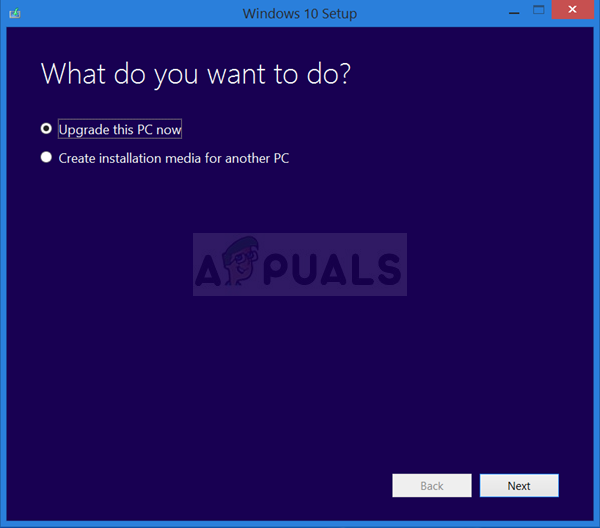
3. Use the Windows 11 Installation Assistant
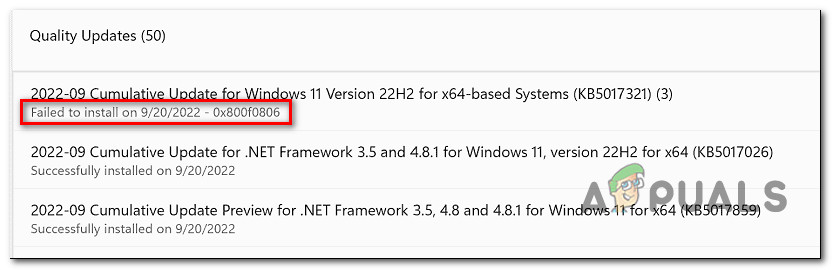
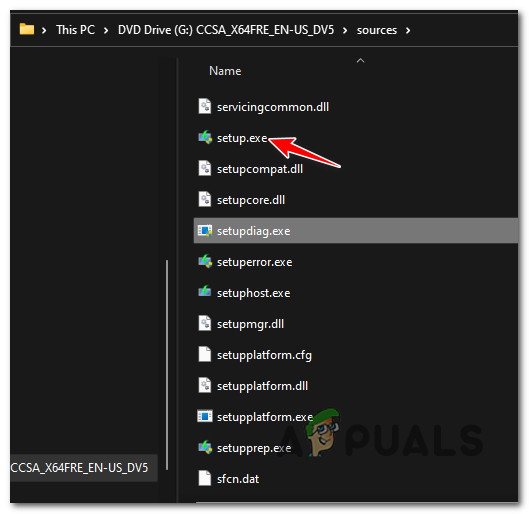
As it turns out, if the first methods featured in this article didn’t allow you to install the pending Windows Updates and you’re still experiencing the 0x800f0806 error every time you attempt to install this update, one quick workaround confirmed by a lot of users is to use the Windows 11 Installation assistant to install the pending update. Note: Going this route means that you will essentially bypass the local component that’s being used to update your Windows version. However, the downside of using this method is that you won’t actually pinpoint the issue’s source but bypass it. If you have no issues using the Windows 11 Installation Assistant to install the failing Windows 11 updates, follow the steps below: If you don’t want to go this route to install the pending Windows Updates, move down to the next method below.
4. Install failing updates via Microsoft Update Catalog
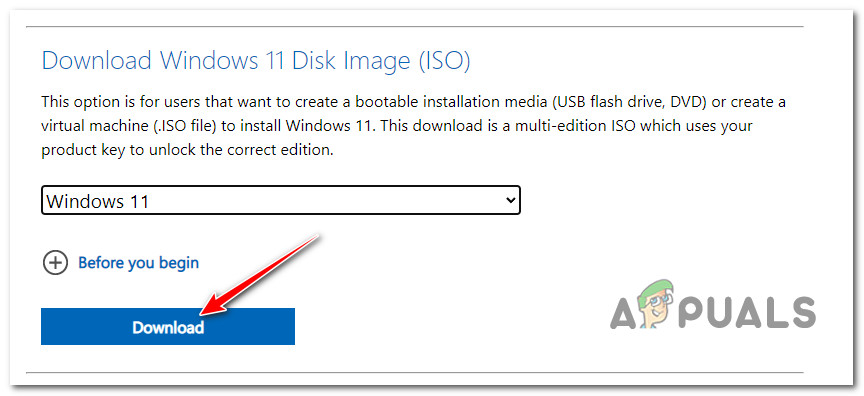
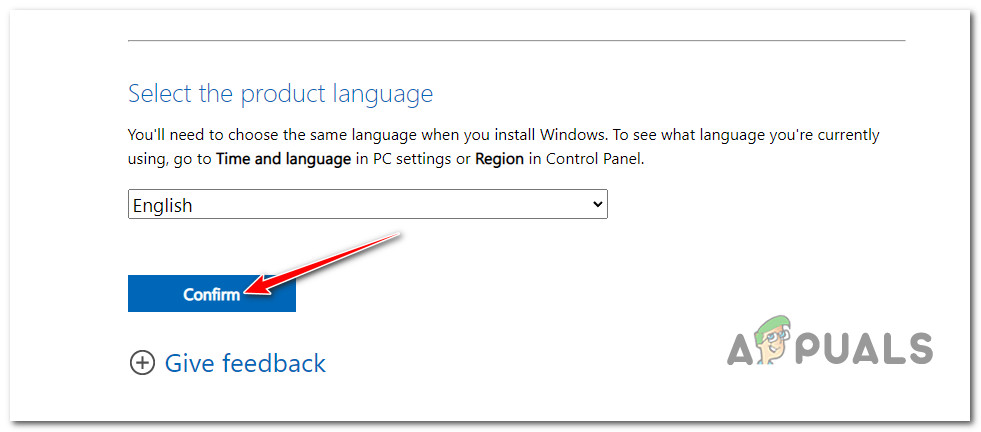
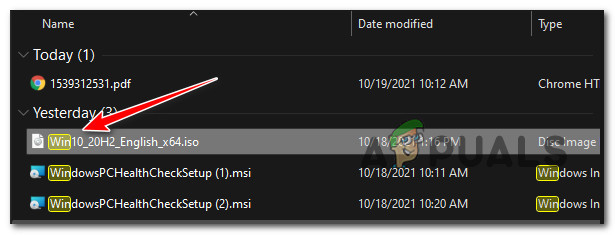
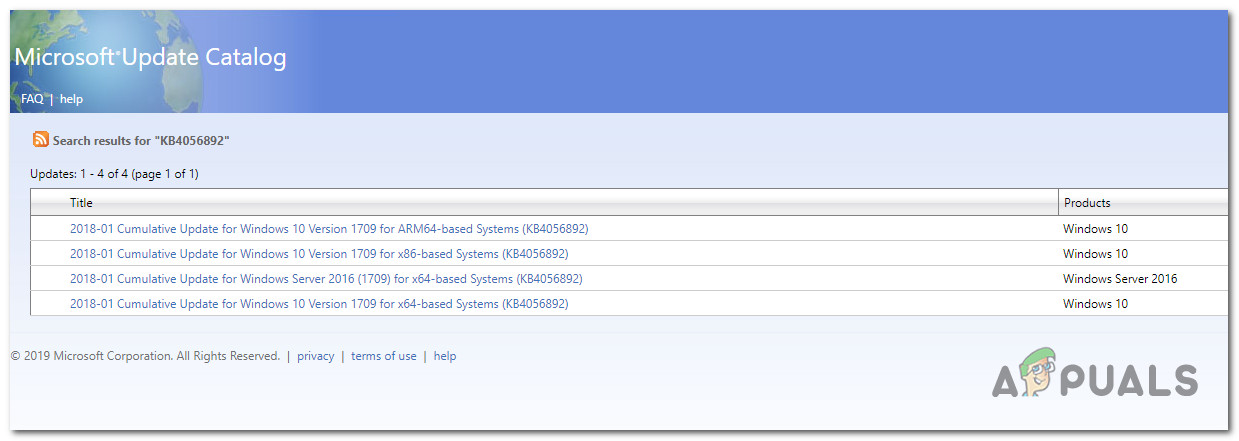
There is a significant chance that you can completely circumvent the error code by manually applying the update or updates that have failed to install if none of the above methods have allowed you to do so. Utilizing the Microsoft Update Catalog website is the easiest and safest way to do this. WARNING: This method will not effectively address the root cause of the problem. The fundamental issue that stops you from getting and installing cumulative Windows updates will persist even if you successfully use this technique. The cumulative update was deployed without any issues, according to several different accounts from affected customers who used the official Microsoft Upgrade Catalog to do the update. How to accomplish it is as follows: If the problem is still not fixed this way or you’re looking for a different way of resolving the issue, move down to the next method below.
5. Reset Windows Update Components
If fixing the WU-related system files didn’t work for you, you’re probably dealing with a persistent bug impacting the Windows Update component. Use the same repair techniques to reset every Windows Update component that could be creating problems with your pending Windows updates if the above-mentioned conventional procedures didn’t work to resolve the Windows Update 0x800f0806 error. The majority of the time, one or more WU (Windows Update) components that are now inactive (i.e., neither open nor closed) will result in this sort of problem. If this situation applies, you can solve the issue by restarting all WU parts participating in the upgrading procedure. To reset the whole WU component from an elevated Command Prompt, follow these steps: After successfully refreshing every Windows Update component, scroll down to the next possible solution below if the problem is still there.
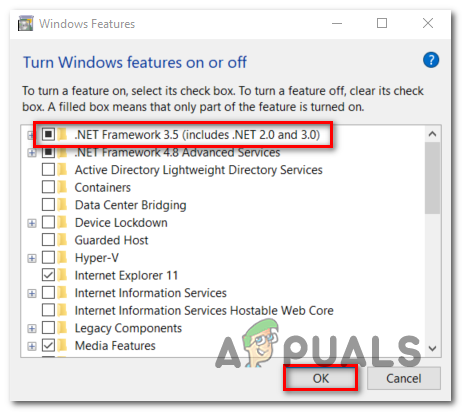
6. Enable .NET Framework 3.5
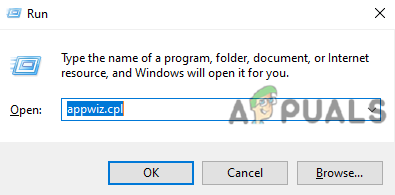
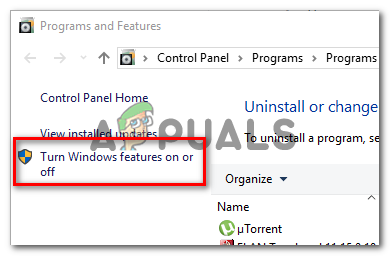
Another factor contributing to this issue is if Windows Update is prevented from using the.NET Framework 3.5, a necessary installation dependency. Activate it from the Programs and Features menu to fix it. Some afflicted updates who had previously encountered the 0x800f0806 error when installing pending Windows Updates have reported that the problem was resolved entirely after .NET Framework 3.5 was Enabled. The steps listed below should be followed to confirm that the Windows Features panel has the .NET Framework 3.5 enabled: After the next startup, check to see if the issue has been resolved. If the problem is still not fixed, move to the next method below.
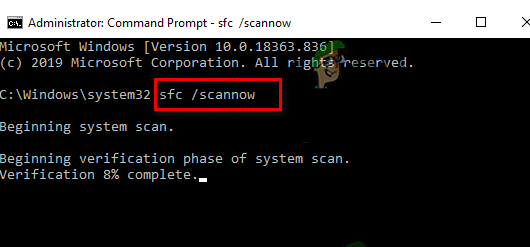
7. Deploy DISM and SFC Scans
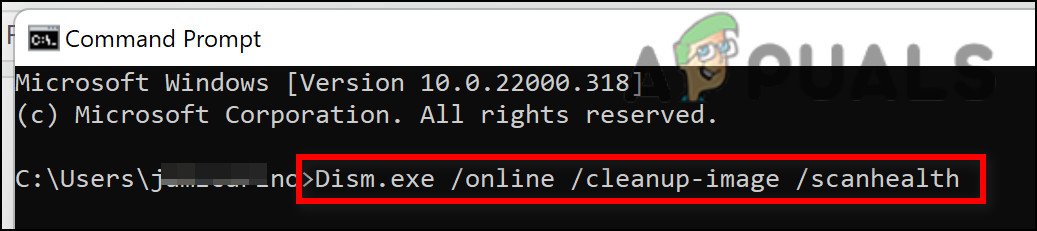
As it turns out, a file corruption that interferes with Windows installation’s auto-updating feature is one of the most frequent causes of the 0x800f0806 problem while attempting to install a pending system update. Start by conducting a few scans with two built-in programs, System File Checker (SFC) and Deployment Image Servicing and Management, if this situation seems like it could be applicable (DISM). Although SFC and DISM are somewhat similar, we advise running both checks quickly after one another to increase your chances of restoring the faulty system files. If this case applies, begin with a straightforward SFC scan. Note: Keep in mind that this tool is purely local and won’t necessitate an active internet connection. It’s crucial to keep the CMD window open after starting this operation, even if the program appears to have frozen. As stopping the procedure might result in logical errors on your HDD or SSD, patiently wait until it is finished. Once the SFC scan has been finished, restart your computer to verify whether the problem has been resolved. If the 0x800f0806 Windows Update Troubleshooter problem persists, run a DISM scan and follow the on-screen instructions to finish the process. DISM uses a portion of Windows Update to download healthy alternatives to replace broken system files, which is a significant distinction between DISM and SFC. Because of this, before beginning this procedure, you need to confirm that you have dependable Internet. Restart your computer after the DISM scan successfully determines whether the 0x800f0806 error has been resolved. Continue to the final repair below if the Windows Update Troubleshooter is still broken.
8. Perform a repair install
If none of the above procedures have helped you remedy the 0x800f0806 error, you may infer that your problem results from a system corruption problem that can’t be resolved using standard ways (with DISM and SFC scans). The problem was resolved, according to other customers experiencing a similar problem, once they refreshed every Windows component. A clean install or an in-place repair (repair install) can do this. Choosing a clean install is a more straightforward option, but the primary disadvantage is that you can’t save your personal files (apps, games, personal media, etc.) unless you first back them up. On the other hand, the benefit of choosing a repair install is that you get to preserve all of your personal data, including apps, games, personal media, and even certain user settings. The process is a bit more time-consuming, though.
Fix: Windows Update KB5017321 Error 0x800f0806 On Windows 11?How to Fix Windows Update “Error Code: Error 0x800706ba”?How to Fix Windows Update Error Code 0x80070437 on Windows 10?How to Fix Windows Update “Error Code: 0x8024401c” on Windows 11?