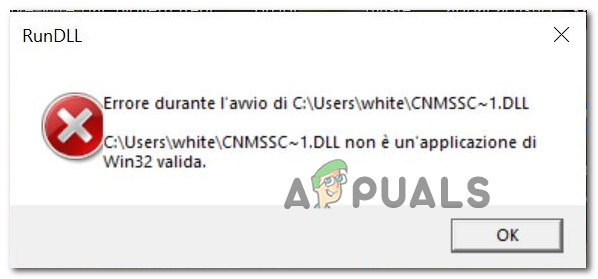
After we’ve investigated this particular issue, it turns out that there are several different scenarios that might end up triggering this error. Here’s a list of potential culprits that you should be mindful of if you’re currently experiencing this issue: Now that we went over every potential cause that might trigger the CNMSSC DLL Error, let’s go over every confirmed fix that other affected users have successfully used to get to the bottom of this issue.
Disable the Canon Printer Process (if applicable)
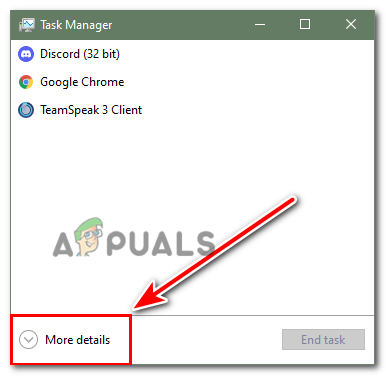
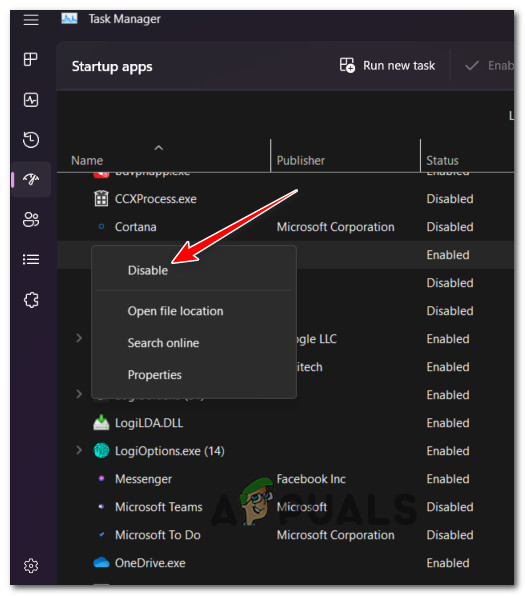
If you’re just beginning to troubleshoot this particular issue, the first thing you should do is check if the issue is often caused by the Canon Printer process. There’s no clear explanation of why this happens (from Microsoft), but it may be due to a Canon driver conflict that interferes with the CNMSSC.DLL file. If this scenario is applicable, the easiest way to fix the issue is to try force-stopping the Canon Printer service through Task Manager. Several affected users have confirmed that they stopped seeing the CNMSSC.DLL-related error after using Task Manager to effectively disable every Canon-related printer service. Follow the instructions below for specific instructions on how to do this: If the same CNMSSC.DLL error is still occurring, try the next method below to uninstall the potentially conflicting Canon Printer software.
Uninstall the Canon Printer Software (if applicable)
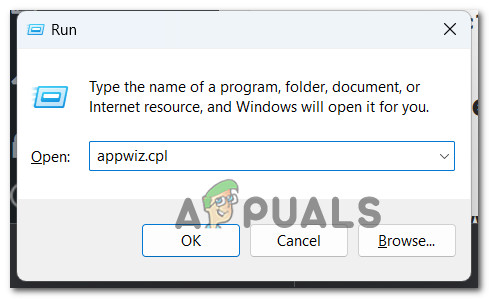
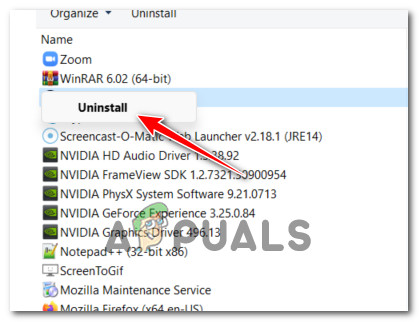
If the first method didn’t work in your case, chances are the problem is being caused by the parent application of the startup service (that we tried disabling in the method above). If this scenario is applicable, the next logical step would be to uninstall the parent application – Canon Printer Software. Note: Only consider this method if you’re not actively using the Canon Printer Software or any associated dependency or feature. If you use the native printing functionality on Windows, you can easily uninstall the software as the native printing protocol will be used instead. In case this method is suitable, follow the instructions below to uninstall the Canon Printer Software: If the issue is still not resolved yet, move down to the next potential fix below.
Clean the Shell Startup folder
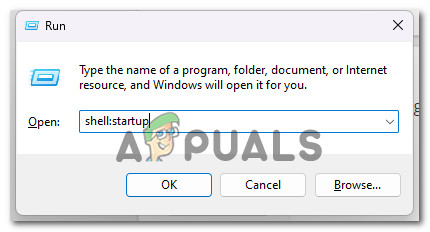
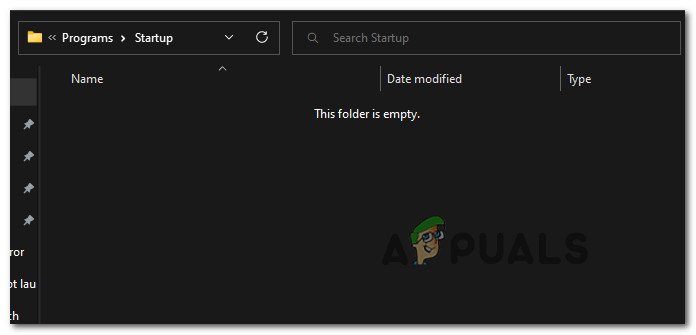
If you see this error each time your computer starts up, it’s probably because a rogue startup item is calling the CNMSSC.DLL, even if the file is no longer on your printer. You can fix this by cleaning the Shell Startup folder or running Autoruns to remove any rogue startup items. This method was used successfully by a lot of Windows 10 and Windows 11 users. Note: All you need to do is open up the Shell Startup folder and clear every unsolicited startup item from there. For step by step instructions on how to do this, follow the step below: If the problem is still not resolved, move down to the next method below.
Remove responsible startup item via Autoruns
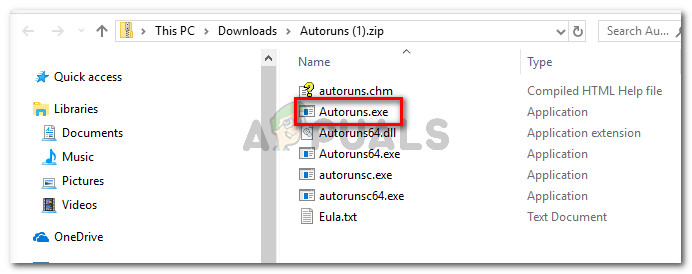
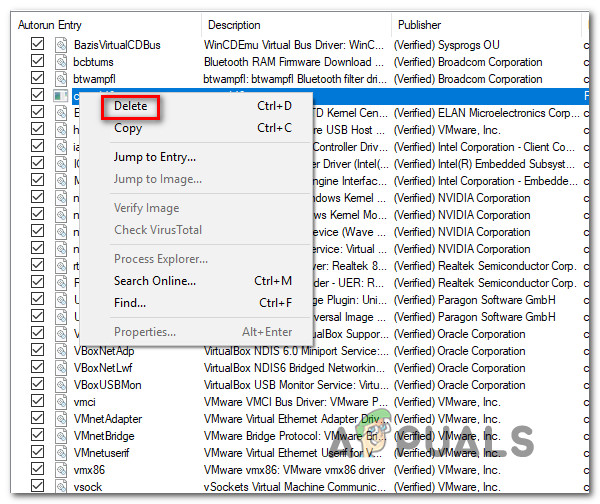
If you’re getting startup errors related to the CNMSSC.DLL file, it’s likely because a malicious file that was part of the infection has been deleted by your security suite. It’s not uncommon for some security suites to miss some files when dealing with infections. Sometimes startup items and registry keys will still remain on the system, calling the malicious file to execute even if the file was deleted by the security suite. Whenever this happens, Windows will automatically trigger a pop-up error. There are several ways to deal with an error associated with the dnsapi.dll file, but let’s go for the easiest approach out of the bunch. Note: Autoruns is a software vetted by Microsoft that can identify, organize and delete unused runonce, run, startup folders, and registry keys. In our case we can use it to identify and remove the startup items (or registry keys) that are calling the file that is no longer there. Here’s a quick guide to installing and using Autoruns to remove errors associated with the CNMSSC.DLL file: If the problem is still not fixed, move down to the next method below.
Update Windows to the latest version
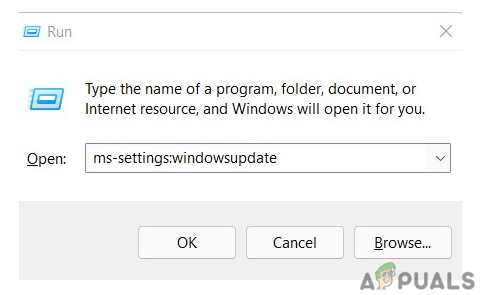
It turns out that this problem might be related to your current Windows version. Several users experiencing the same problem have confirmed that updating their Windows version to the latest version stopped the CNMSSC.DLL-related issue from occurring. One popular reason that might cause this behavior is when Windows Update already has a scheduled update ready to do update the printing component. Some users encountering the same error code have reported that they fixed the issue by updating their Windows version to the latest build available. After doing this and restarting their computer, most reported that the CNMSSC.DLL startup error was no longer occurring. If this scenario is applicable to you, try installing every pending update for your Windows OS and see if this takes care of the issue automatically: If the problem is not yet fixed, move down to the next method below.
Remove cnmssc~1.dll from Registry Editor
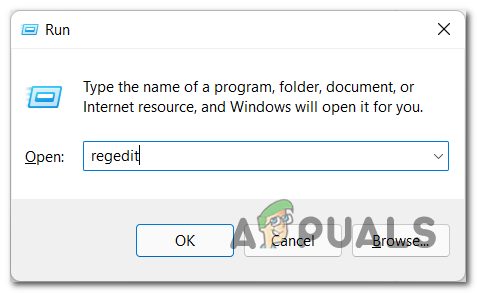
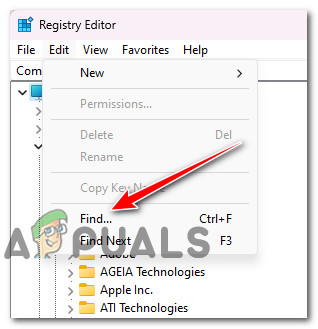
If you uninstalled your Canon printer software without taking care of all the dependencies, you might start seeing this error message every time you turn on your computer. That’s because there’s still a registry key somewhere that’s trying to call the now-missing cnmssc~1.dll file. To fix the problem, you’ll need to find and delete every mention of cnmssc~1.dll from your Registry using Registry Editor. This method was confirmed to be effective by a lot of Windows 10 and Windows 11 users that we’ve previously uninstalled the Canon Printer software incorrectly. Here’s how to do this: If the same kind of issue is still occurring, move down to the next method below.
Deploy a clean boot
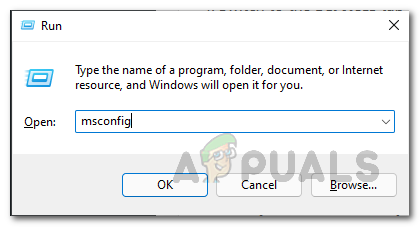
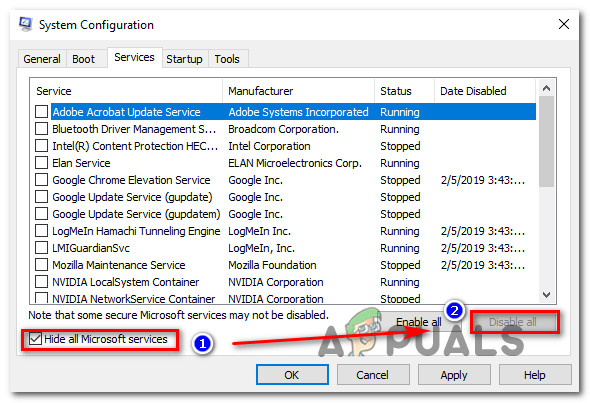
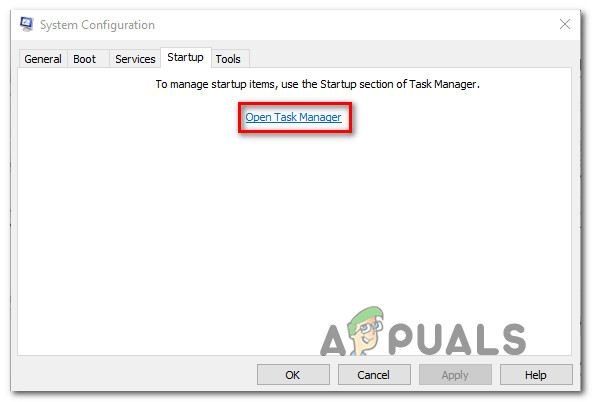
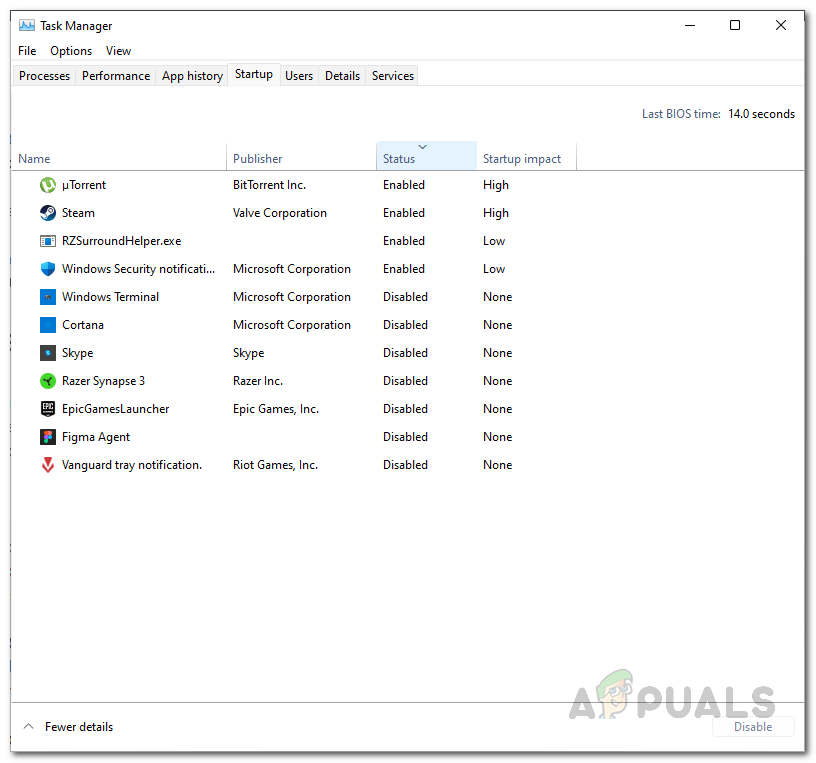
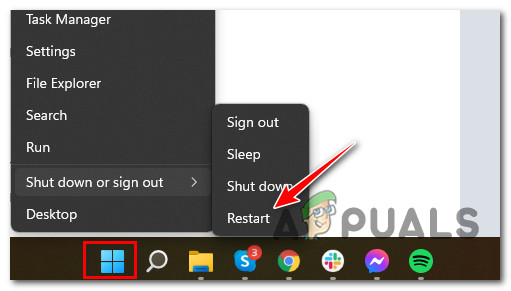
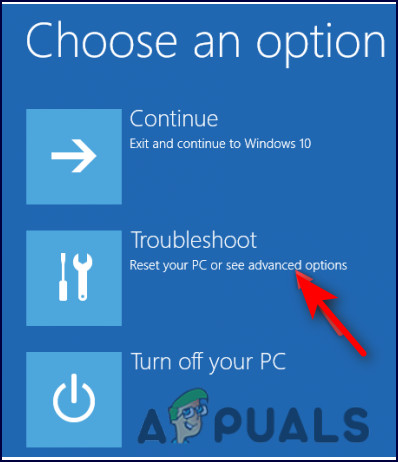
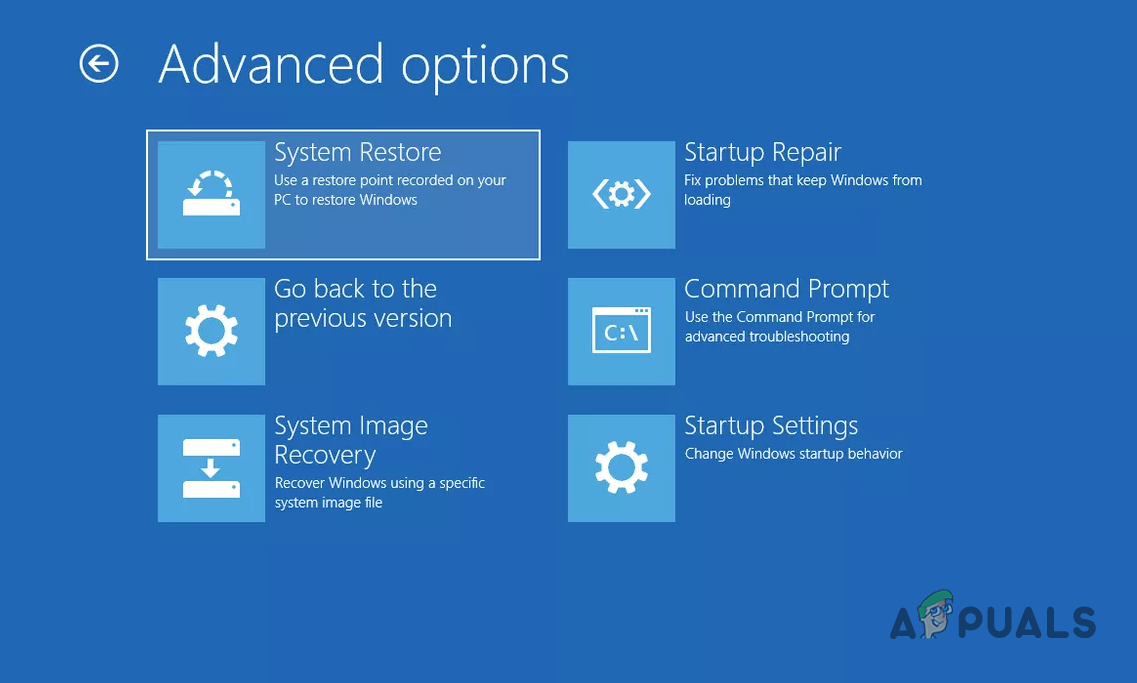
You might be encountering the CNMSSC.DLL error code because of some kind of application or service conflicts with the printer dependencies. To see if this is the case, you can force Windows to boot with only the essential drivers and startup programs. This type of startup (clean boot), will help you identify any software conflicts that might be causing this particular issue. Here are the steps for performing a Clean Boot on Windows and seeing if a 3rd party service or startup item is causing this startup error: In case this method has confirmed that no 3rd party application, service, or process is causing the issue, move down to the next method below.
Initiate a Safety Scanner scan
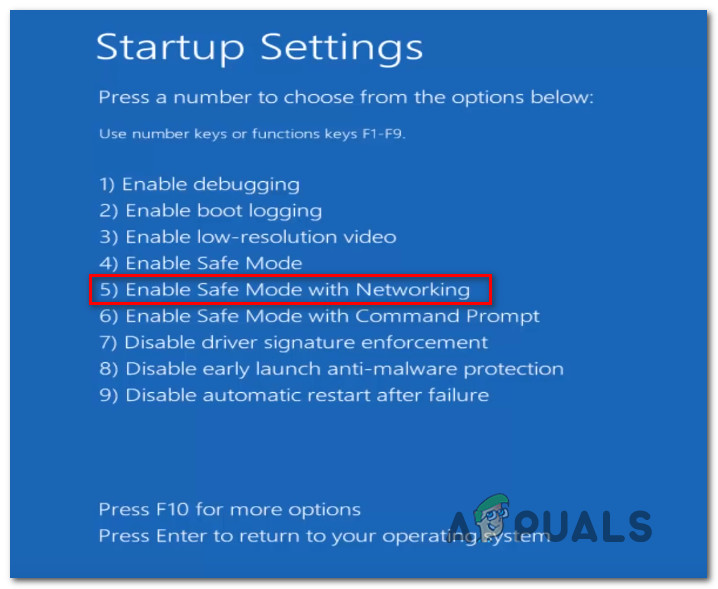
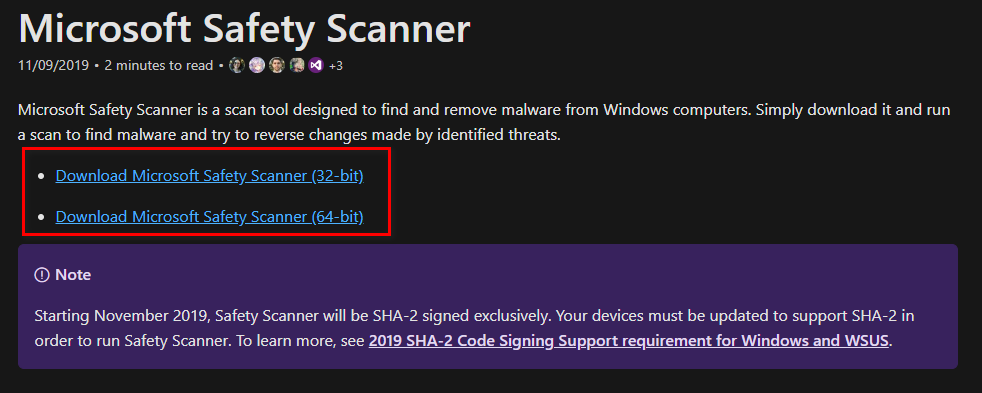
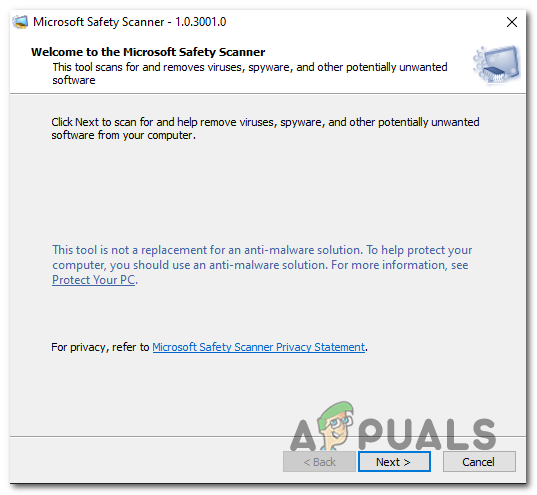
If none of the methods so far were effective in your case, the next step should be to ensure that you’re not experiencing this issue due to a virus infection. To make sure that’s not the case, you can try running the Microsoft Safety Scanner from Safe Mode. Note: This will ensure that you’re using the most powerful virus-removal tool that Microsoft has developed, without worrying about 3rd party interference. Here’s a quick guide on running the Microsoft Safety scanner from Safe Mode: If this method didn’t work for you, move down to the next method below for a way to address the virus infection issue with a 3rd party utility.
Deploy a Malwarebytes scan
If the CNMSSC.DLL file is not located in its authentic location and your virus scan reveals suspicious activity, you should deploy a security scanner to remove the malware infection. Based on past experience with similar cloaked viruses, the most efficient software to use in this case is Malwarebytes. It’s free and will identify most malware that exhibits this behavior. To make things easier for yourself, follow this article to learn how to deploy a deep scan using the free version of Malwarebytes to get rid of the virus infection. If the scan completes successfully and the virus infection is removed, restart your computer and see if there is any evidence of the CNMSSC.DLL file at the next system startup. In the event that this process reveals that the CNMSSC.DLL file is genuine, move down to the final potential fix below.
Perform a repair or clean install
If you’ve come this far and you’re still encountering the CNMSSC.DLL error, it’s clear that you’re dealing with a severe corruption issue that cannot be resolved conventionally. In this case, the only way of taking care of the problem is to reset all Windows components to ensure that you remove any instance of corrupted system files. Most users choose the radical solution – a clean install that does the job but also removes any personal data including applications, games, media, and documents. If you want to go for a less destructive route that will allow you to refresh your Windows components without affecting any of your personal files (games, apps, photos, documents, etc.), you should go for a repair install. This procedure will allow you to keep all your personal data. In case you want to perform a repair install, follow this guide for step-by-step instructions on completing this procedure.
Fix: Run DLL BackgroundContainer.dll ErrorFix: Cnext.exe cannot start because MSVCP120.dll or Qt5Core.dll is missingFix: Microsoft Word and Outlook 2013 Crashing with ntdll.dll/MSVCR100.dllFix: SDL.dll is missing or SDL.dll not found
