There are a couple of things that might cause the issue. This might happen because of an issue in the driver. The driver might be updated to a newer version or it might be outdated. But, sometimes the issue might be because your mouse device got disabled for some reason and this can also cause the pointer to lag or freeze. There are other scenarios where you might have disabled your mouse accidentally. There are a lot of solutions for this problem and usually it will be solved within a short span of time. So, go through every method given below until the problem is solved. Note: The methods given below works for both mouse and touchpad. Sometimes the touchpad gets disabled as well or its new drivers might not be compatible. Use the same methods for touchpad, just select your touchpad in the steps instead of your mouse.
Tip
A lot of users accidentally turn off the mouse pointer via their keyboard. The key F5 is generally used to disable the mouse so try pressing F5. If that doesn’t work then try (function key) FN + F5 or FN + F9 if you are using ASUS or FN + F7 if you are using an Acer machine. The keys might be different depending on the keyboard/brand. You can check the manual from the manufacturer’s website to see which key is used for the mouse function. If nothing else works, look through the keyboard keys very carefully to check if there is a key with a mouse indicator on it. Usually, these keys have an icon on them to give you an idea about their function. If you see a key with a mouse icon then try pressing it and try pressing it with the FN key as well.
Method 1: Enabling the Mouse Device
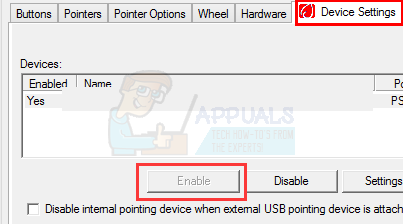
This method is used to fix the problem by enabling your mouse device. Sometimes, the mouse device gets disabled either accidentally or intentionally. Setting it back to being enabled will mostly solve the issue. Note: Since you can’t use your mouse, we will be using the keyboard for all the steps
This will enable your mouse and you should be able to see your mouse pointer now. Note: in case you are doing this for the touchpad, you should see a tab TouchPad (most likely at the end). Select the TouchPad tab instead of the Device Settings in step 3 and then enable the TouchPad in step 4.
Method 2: Mouse Drivers
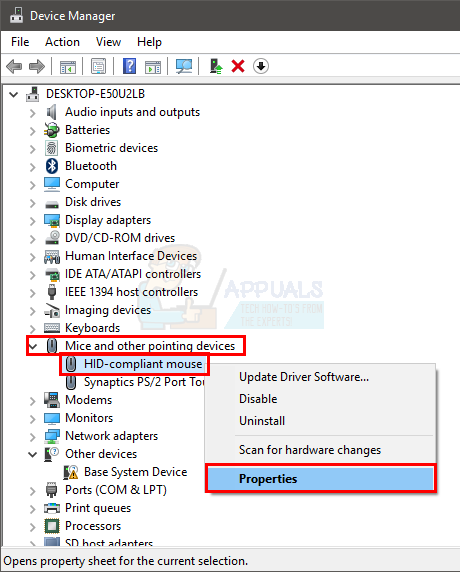
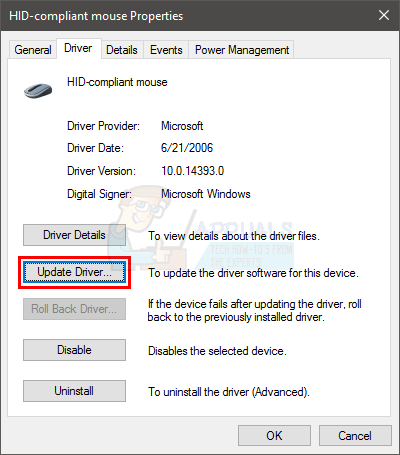
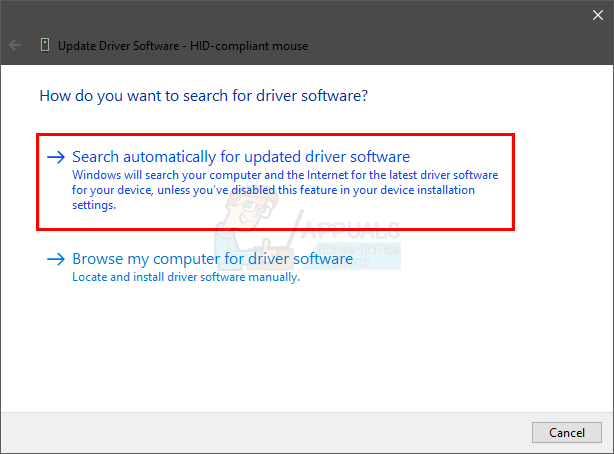
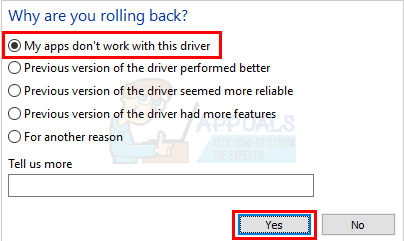
Sometimes, the issue is with the drivers of the mouse. Your driver might automatically be updated to a newer version that isn’t compatible or it might have a bug and in some cases, it can even cause the pointer to move on its own. In that case, you should roll back the driver. On the other hand, if you haven’t updated your drivers for a while then you should update the drivers. There isn’t a way to confirm was is causing the issue. So, you should try to update the driver first and if that doesn’t work then roll back the driver to see if that solves the problem. Note: make sure the Roll Back Driver… button isn’t greyed out. If the Roll Back Driver… button is greyed out then don’t follow the next step.
This should roll back the drivers. Once the process is complete, check if the pointer came back or not.
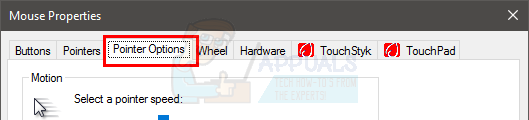
Method 3: Changing Pointer Settings
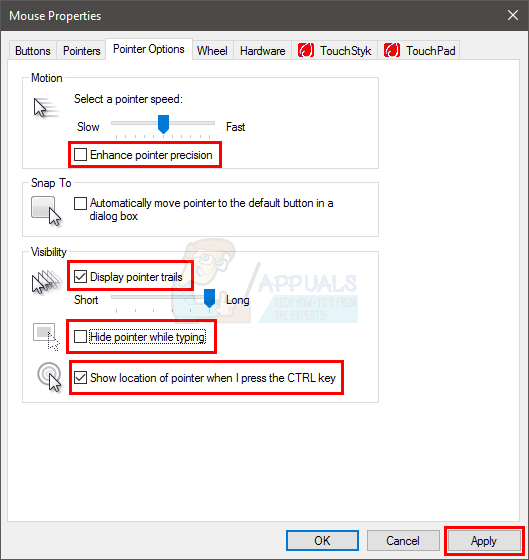
You can change a few settings of the pointer that will bring back the mouse pointer. This is mainly because the disappearance of the pointer might simply be the effect of your pointer settings. For example, the option “hide the pointer while typing” hides the pointer for as long as you typing which might be confusing to a lot of people. This isn’t a solution but more of a precaution to check if the settings aren’t causing the issue.
Now, check if the pointer is appearing or not. If you still can’t find the pointer then press the CTRL key once to see the location of the pointer.
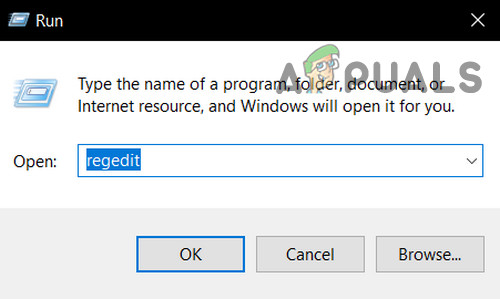
Method 4: Changing Registry Settings
In certain situations, some registry configurations might be set in such a way that the cursor is suppressed whenever it isn’t being used that much. Therefore, in this step, we will be changing these settings and disable the feature to fix the cursor disappearing issue. For that:
Method 5: Configure Pointer Size
In certain cases, the pointer size might have been misconfigured due to which it keeps disappearing or it might require to be reconfigured which can sometimes get rid of this issue. Therefore, in this step, we will be changing this setting. For that:
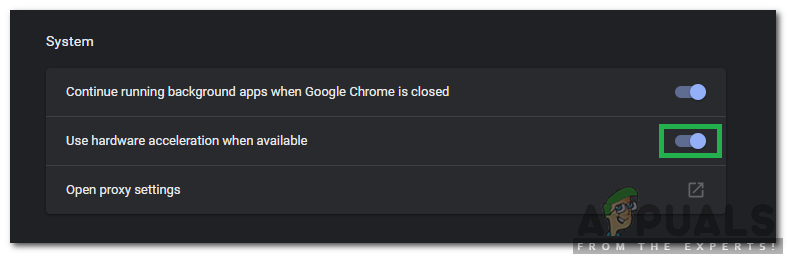
Method 6: Toggle Hardware Acceleration
In certain cases, Google Chrome might be facing this issue and it might not be seen in any other application. Therefore, in this step, we will be toggling the hardware acceleration on our computer and then check to see if the issue persists.
Fix: Wallpaper Disappearing After Final Major Update for Windows 7How to Fix Cursor Blinking in Windows 10?Fix: Black Screen With Cursor (BSOD) on Windows 7, 8 and 10How to Fix Windows 10 Black Screen with Cursor Issue?