In case you already have Windows 10 installed on your PC but you’re keen to try the new OS from Microsoft, you don’t necessarily have to upgrade your current installation. You can just as easily install Windows 11 on a different partition or disk to achieve a dual boot setup (with Windows 11 AND Windows 10). This article will walk you through every method that will allow you to do this. But before we get to the actual methods, ensure that you meet the Minimum Requirements of Windows 11 by comparing your PC specs against the following:
How to Dual Boot Windows 11 with Windows 10
There are actually two different ways that will allow you to set up a dual boot situation on your PC;
You can either do it by installing Windows 11 at boot on a different partitionOr you can do it by installing Windows 11 from within Windows 10
We’ve included steps for both methods, so feel free to follow the one that you feel most comfortable with. Both of them will ultimately help you achieve the same end results. Important: As of now, regardless of the method you’ll end up following, you’ll see the boot entry related to Windows 10 named Windows 10 – This is likely to change once Windows 11 is officially launched. In the meantime, you can change the OS name inside the boot options.
Dual Boot Windows 11 with windows 10 by Installing Windows 11 at Boot
The first option available to you is to boot into Windows 10 and install Windows 11 on a partition that’s separate from your current OS. This should be your approach if you’re looking for the most comprehensive method that will take you the least amount of time. Here’s what you need to do:
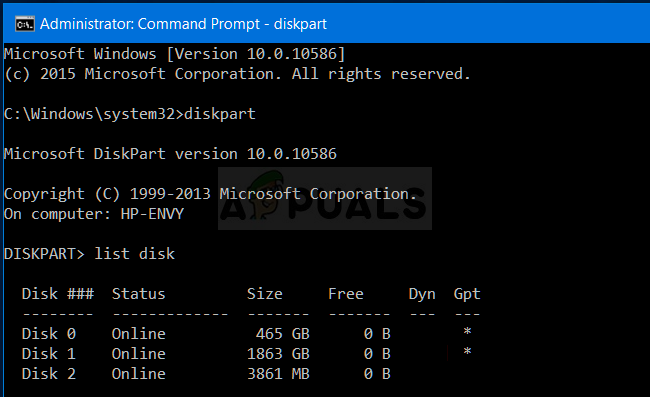
Preparing the unallocated space for Windows 11
Chances are you don’t already have a partition ready to accommodate Windows 11 already, so you have two options: If you want to go for Option 1, follow this article to resize your current partition and prepare the partition for dual booting. If you want to pursue Option 2, open a command prompt window at boot and follow the instructions below:
Prepare the Windows 11 USB installation media
As you probably imagine, you’ll need to create a bootable Windows 11 installation media that supports UEFI mode. If you don’t have one at the ready, you can follow these instructions to create a Windows 11 USB Bootable Media. You can either use Rufus to get this done easily or you can create the bootable USB installation media from an elevated Command prompt.
Disconnect all Non Essential Hard drives
This step is very important so don’t skip it. In order to avoid mistakenly deleting or formatting the wrong disk or drive, you should always disconnect all hard drives that don’t hold the Windows 10 installation media. Doing this will also ensure that the Windows Setup will not install the boot configuration files (the Bootloader + its dependencies) to a different storage solution (other than the disk where the Windows will be installed on).
Boot from the Windows 11 Installation Media
Configure the Windows 11 installation
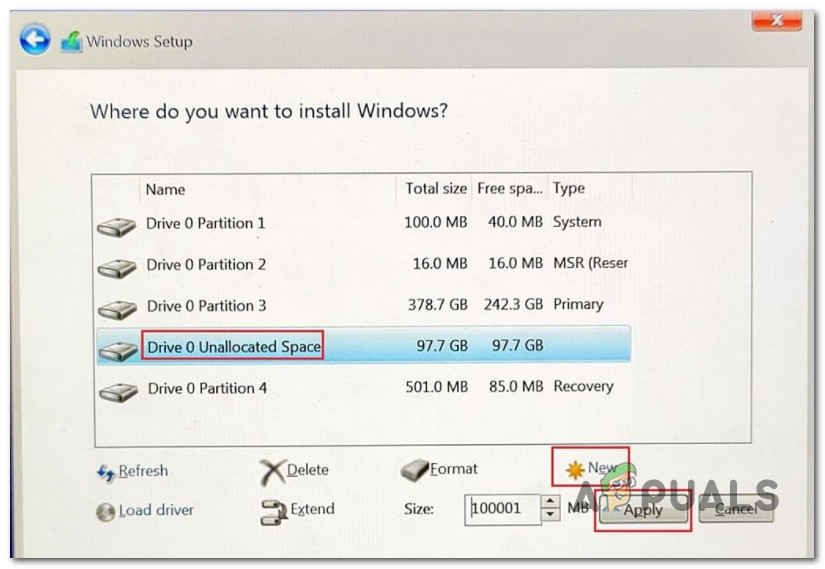
Once you successfully boot from the Windows 11 installation media, follow the same instructions as you’d clean install Windows 11, but ensure that once you get to the part where you need to select the partition where you want to install Windows you select the unallocated space that you previously created at STEP 1. To do this, select the Unallocated Space, then click on New to create a new partition out of it, set the maximum size, then click on Apply to save the changes. Once you manage to create the new partition for Windows 11, make sure it’s selected before you click on Next and follow the remaining instructions.
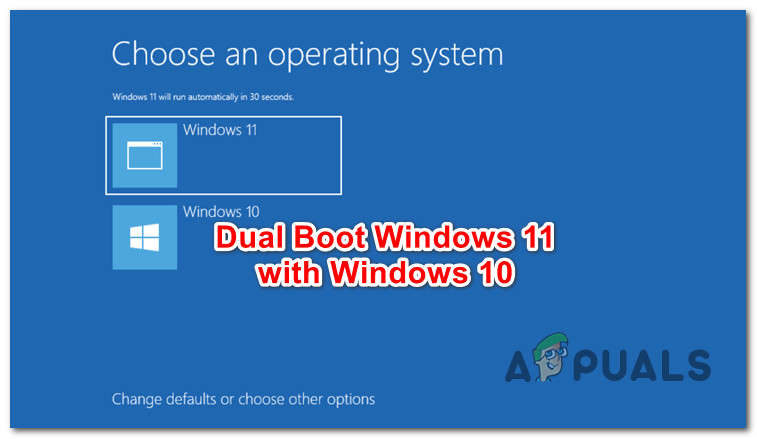
Dual boot
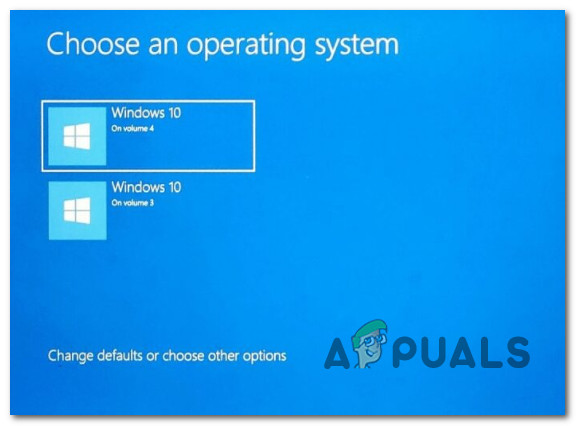
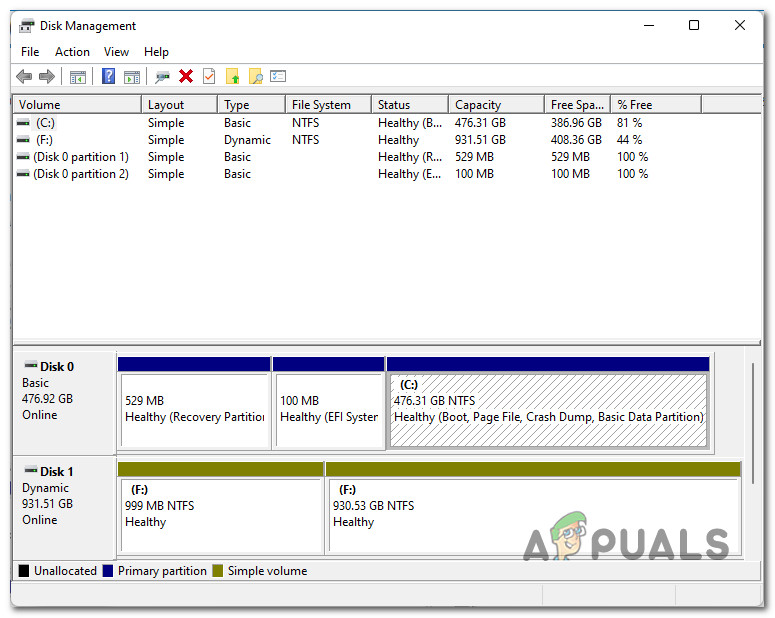
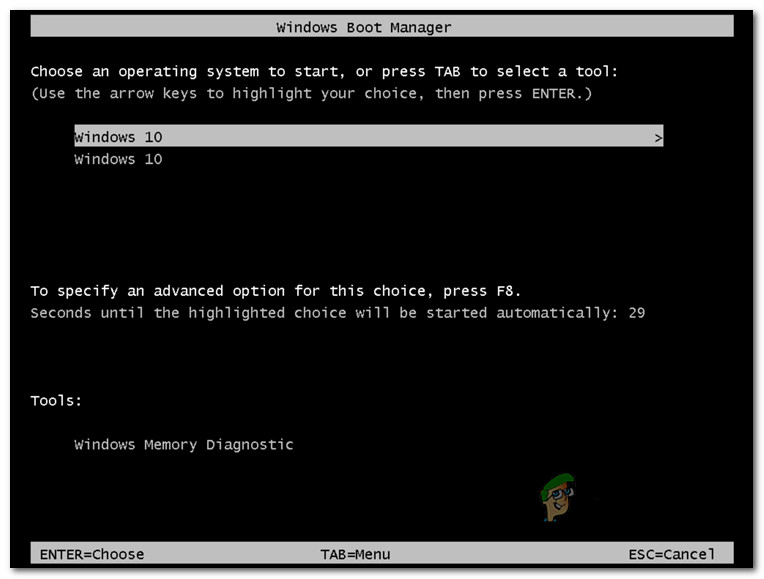
Once the installation is complete, your PC will restart and you will be given a choice to select which operating system you wish to boot from. But since Windows 11 is still in preview and it’s still technically a Windows 10 reskin, it will also be named Windows 10. You can guess which entry is actually for Windows 11 or you can solve the mystery by looking at the volume.
Dual Boot Windows 11 with Windows 10
The second approach you can take is to install Windows 11 directly from Windows 10. This will save you from having to modify the boot order and you can also avoid creating a bootable Windows 11 Installation media since you can install directly from a compatible ISO. Here’s what you need to do:
Prepare a viable Partition
Depending on if you want to install Windows 11 to a partition or a separate empty disk, you have 2 options:
Disconnect all Non-OS Hard drives
If you have any other storage devices that are not storing OS files, you should disconnect them at this point. This includes external devices and other flash drives that you might currently have connected to your PC. This will save you from formatting the wrong drive or installing Windows 11 over personal files. But most importantly, it will ensure that the Bootloader files won’t get installed on a connected hard drive that is not permanent on this particular PC.
Mount the ISO
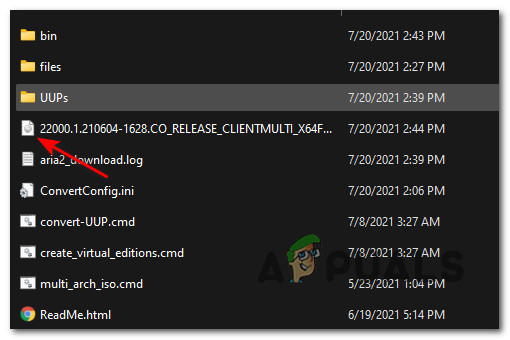
Next, you will need to mount the Windows 11 ISO so you can install the new operating system from it. If you don’t already have the ISO downloaded locally, you can follow these instructions to get the latest Windows 11 build using the UUP service. Once the ISO files are downloaded locally, simply double-click on the main ISO file to mount it locally. Important: No need to use a utility like Daemon Tools since Windows 10 has this capability natively. Note: If you already have a bootable USB installation media created, you can simply plug it in and avoid the download of the Windows 11 ISO entirely.
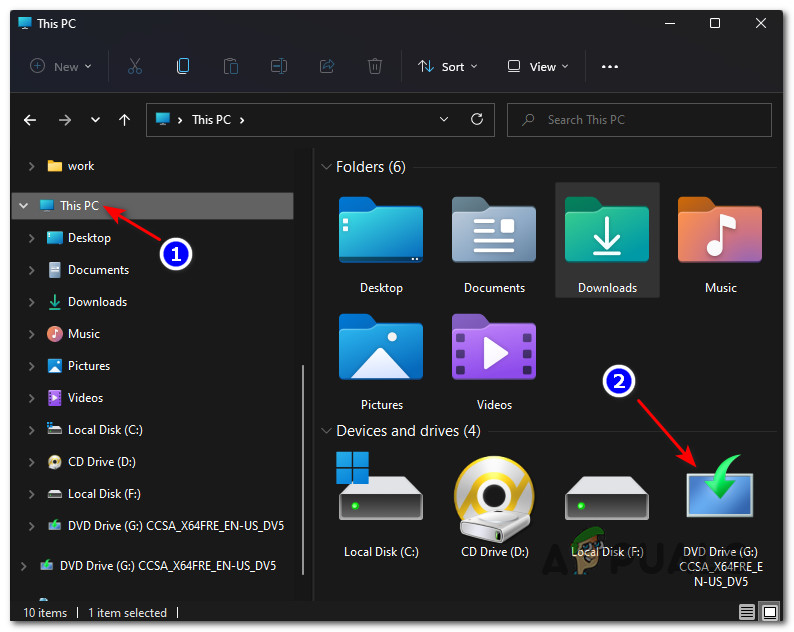
Open the Windows 11 ISO
Next, open File Explorer by clicking on its icon or by pressing Windows key + E. Inside File Explorer, ensure that you have the This PC tab selected on the left, then right-click on the ISO that you just mounted from the right-hand pane and click on Open from the context menu that just appeared.
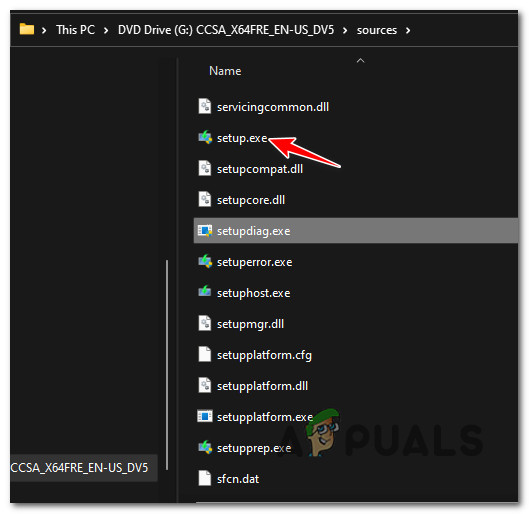
Installing Windows 11
Once you’re inside the root path of the recently mounted ISO, double-click on sources, then look through the available files and double-click on setup.exe. Note: This is the setup that you need to run. There is also a setup.exe on the root location, but don’t run that because the installation will fail. Once you are prompted by the User Account Control, click Yes to grant administrative privileges. Once you’re inside the Windows setup screen, follow the instructions normally as if you were clean installing Windows 11. But be on the lookout to select the correct partition (the one that you previously prepared for Windows 11) when you get to the Where do you want to install Windows? section.
Dual Boot
After the installation of Windows 11 is finally complete, your PC will restart directly into the Windows Boot Manager screen. Since Windows 11 is still technically a Windows 10 reskin with added features an app, you will see it labeled as Windows 10 too. Note: This will likely change once Windows 11 is officially released. You’ll likely have to do some guessing work to see which listing is actually Windows 10 and which is Windows 11. If you’re annoyed by the fact that both of your operating systems are named the same, follow the instructions below:
Fix: Dual Boot Windows 10 and Windows 11 Not WorkingHow to Transfer Files from Ubuntu to Windows 10 in Dual BootHow to: Dual Boot Windows 10 with 7 or 8How to Create a Dual Boot for Windows and Ubuntu