Today we will show you how to use Helium and a Windows system to backup Android app data. The free version of Helium allows you to backup to the internal storage on your device, an SD card, or a cloud service like Google Drive. However, the free version only allows you to restore from internal storage or an SD card – not from a cloud service. If you want to be able to backup to and restore from a cloud service, you can purchase the premium version of Helium for $4.99. NOTE: For some reason, we could not back up to an SD card even though the developer claims that is an option. However, you can copy the backed up files to the SD card or even to a cloud service yourself and then back to a device to restore. We’ll show you where the backed up files are located later in this article.
Installing The Android Drivers On Your Computer
In addition to installing the Helium app on your phone, you’ll also need to install the Helium desktop app, which is available for Windows, Mac, and Linux. It’s also available as a Chrome app, but we couldn’t get that to work. If you’re going to use Helium on a Windows PC, you need to first install the Android ADB drivers. Go to this page and click the “Universal ADB Drivers (recommended)” link and save the installation file to your hard drive. If you’re going to use Helium on a Mac or a Linux computer, skip to the next section.
Go to the location where you saved the universal ADB drivers installation file (UniversalAdbDriverSetup.msi) and double-click on it.
On the setup wizard Welcome screen, click “Next“.
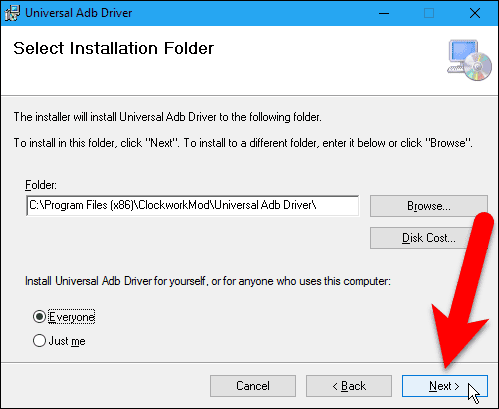
Accept the default settings on the “Select Installation Folder” screen and click “Next” to continue.
Click “Next” on the “Confirm Installation” screen.
If the “User Account Control” dialog box displays, click “Yes” to continue. NOTE: You may not see this dialog box, depending on your User Account Control settings. The User Account Control (UAC) settings can be changed by entering “uac” in the search box on the Taskbar (Windows 10), Start screen (Windows 8/8.1), or the Start menu (Windows 7). Then, click on “Change User Account Control settings” and adjust the settings however you like. However, we don’t recommend disabling UAC entirely.
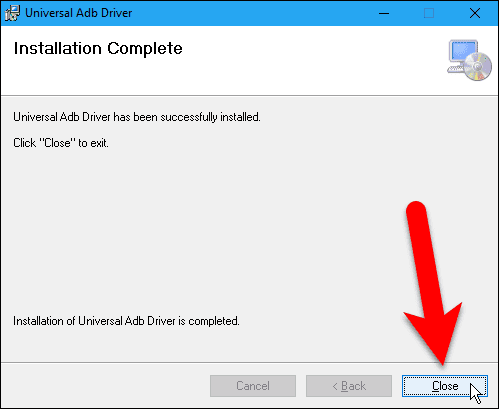
Once the drivers are installed, you will see the “Installation Complete” screen. Click “Close” to close the dialog box.
The installation wizard doesn’t say to restart your PC, but we recommend you do so before continuing.
Installing Helium On Your PC
Now you need to install the Helium desktop app, which is used to set up the Helium app on your Android device. Go to this page, click on the appropriate link for the operating system you’re using and save the installation file to your hard drive. For our example, we’re using a Windows PC, so click the “Windows” link. If you’re using a Mac or Linux, well that is outside the scope of this article as each system has its own installation procedures.
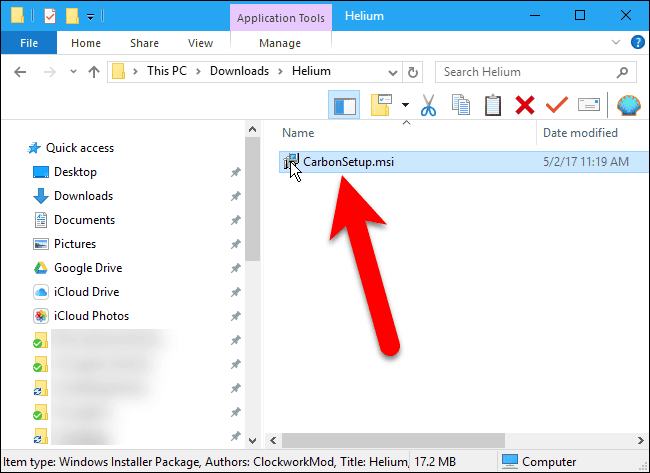
Go to the location where you saved the Helium desktop app installation file (CarbonSetup.msi) and double-click on it.
On the setup wizard Welcome screen, click “Next“.
Accept the default settings on the “Select Installation Folder” screen and click “Next” to continue.
Click “Next” on the Confirm Installation screen.
If the User Account Control dialog box displays, click “Yes” to continue. NOTE: You may not see this dialog box, depending on your User Account Control settings. The User Account Control (UAC) settings can be changed by entering “uac” in the search box on the Taskbar (Windows 10), Start screen (Windows 8/8.1), or the Start menu (Windows 7). Then, click on “Change User Account Control settings” and adjust the settings how you like. Note that we don’t recommend disabling UAC entirely.
Once the Helium desktop app is installed, you will see the Installation Complete screen. Click “Close” to close the dialog box.
Enabling USB Debugging On Your Android Device
USB debugging allows your Android device to communicate with your computer through a USB cable. Using the Android SDK (Software Developer Kit) on your computer, your device can receive commands, files, and other similar items from the computer, and the computer can pull information like log files from your Android device. You must enable USB debugging to allow the Helium desktop app on your computer and the Helium app on your Android device to talk to each other. On your Android device, open the Settings app, if it’s not already open, by swiping down from the top of the screen once (or twice, depending on the brand of device you’re using) and tapping the Settings (gear) icon.
To access the USB debugging setting, the Developer options have to be available. You can see how to do that from one of my previous articles. That article will also show you how to activate the USB debugging feature.
Running Helium On Your PC
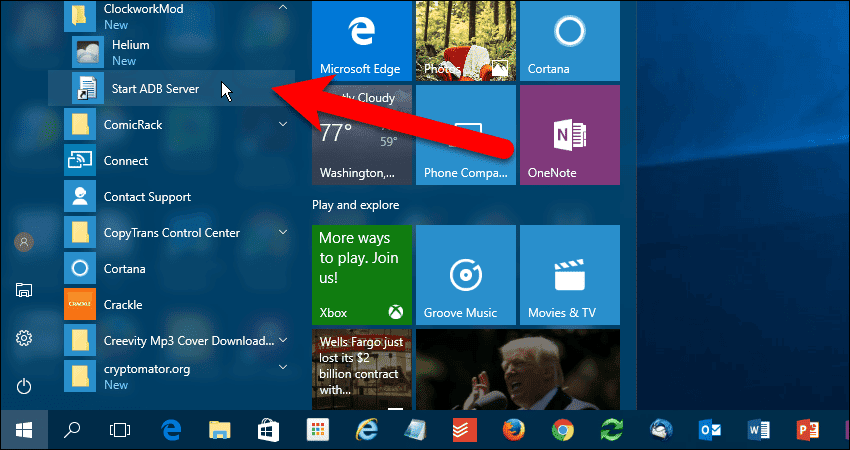
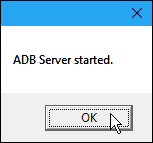
Back on your PC, before running the Helium desktop app, you must make sure the ADB server is running. To do this, go to the Start menu and click “Start ADB Server” in the ClockworkMod program group.
Click “OK” on the confirmation dialog that displays to close it.
To open the Helium desktop app, go to the Start menu and click “Helium” in the ClockworkMod program group.
The Helium program window instructs you to connect your Android device to your computer through a USB cable, so connect your device.
You’ll see the following dialog box asking again if you want to allow USB debugging. If you don’t want to see this dialog box every time you connect your Android device to that particular computer, click the circle next to “Always allow from this computer“. To allow USB debugging, click “OK“.
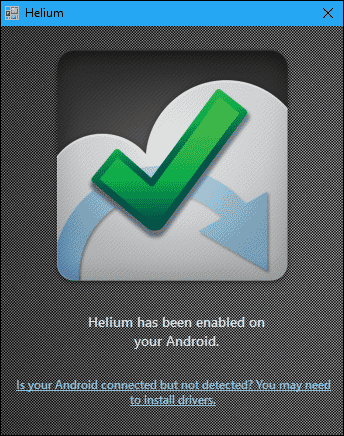
You should see a message on the Helium app window that Helium has been enabled on your Android. You can disconnect your device from the computer at this point.
NOTE: If you turn off your Android device, you will have to open the Helium desktop app on your computer and connect your Android device again when you turn your device back on. Also, make sure that USB debugging is enabled, in case you turned it off.
Backing Up App Data On Your Android Device
To backup app data on your Android device, open the Helium app on your Android device by tapping the “Helium” icon either on your Home screen or in the App drawer.
If you try to run Helium without having connected your device to the Helium desktop app first, you’ll see the following dialog box. Tap “OK“, connect your device to your computer, and run the Helium desktop app.
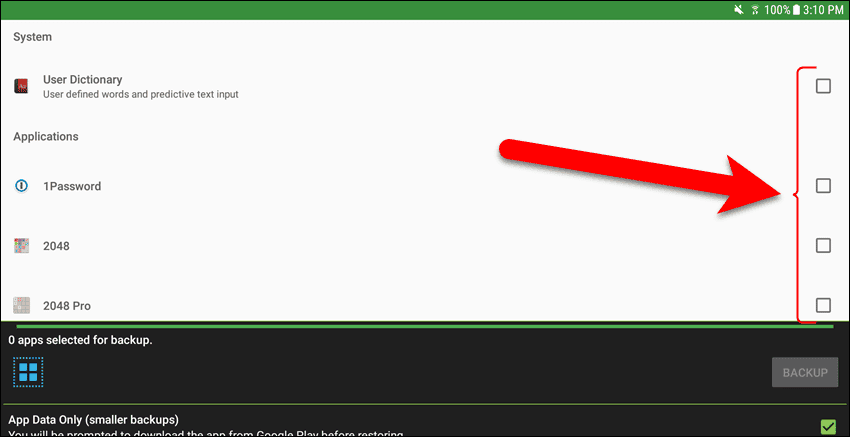
Once the Helium app is fully enabled on your device, you’ll see the main screen where you can select options and then select the apps you want to back up. You can either back up all your apps and their app data, or just the app data. Backing up only the app data results in a smaller backup, so if you’re strapped for space on your device, check the “App Data Only (smaller backups)” box. When restoring from an “App Data Only” backup, you will be prompted to download each respective app from the Google Play store before restoring. You can select which apps you want to back up (see the next step) or you can select all your apps. For this example, we’re going to back up the app data for all our apps, so we check the “App Data Only (smaller backups)” box and then click “Select All“. NOTE: If you don’t see the “App Data Only (smaller backups)” option or the “Select All” button, tap the icon with the four blue squares outlined in red on the image below. This expands the bottom section of the app.
If you only want to back up certain apps, check the box to the right of each app you want to back up.
Tiny thumbnails for all the apps you chose to backup are displayed in the “X apps selected for backup” section, the “X” indicating the number of apps chosen to back up. Click “Backup” to move to the next step in the backup process.
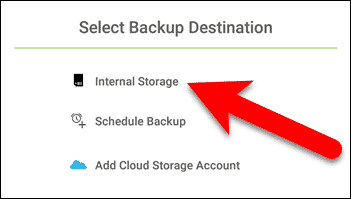
To select where the backup will be stored, tap an option on the “Select Backup Destination” dialog box. For this example, tap “Internal Storage“. Remember the free version of Helium allows you to backup to internal storage or an SD card, if your device has an SD card slot. However, note that Helium did not include our SD card as an option, even though there is one present in the Samsung device we used for this example.
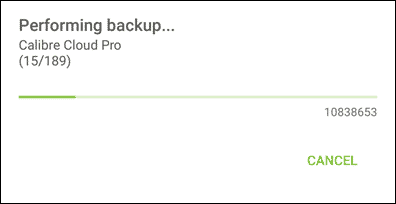
A dialog box displays showing the progress of the backup process.
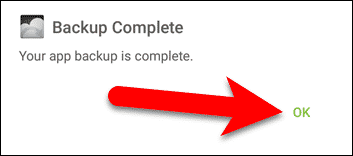
The following dialog box displays when the backup is complete. Click “OK” to close it.
The backed up files are located in the “carbon” folder on the root of the internal storage. Use the built-in file manager app on your device, or a third-party file manager app, to copy the “carbon” folder to a cloud service. You can also connect your device to your computer via a USB cable and copy the “carbon” folder to your computer.
Restoring App Data To Your Android Device
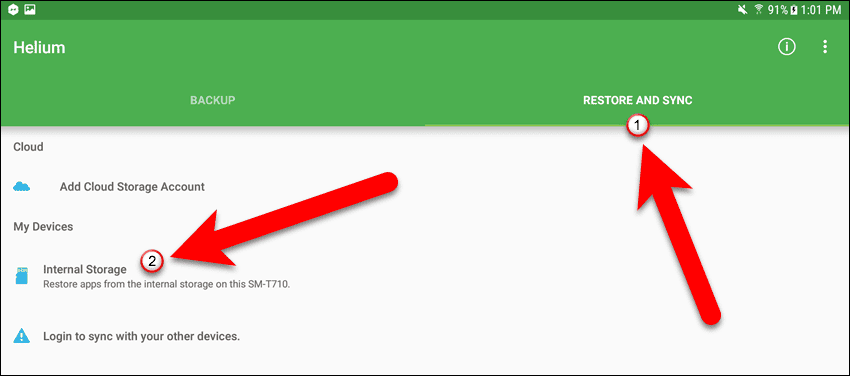
Before restoring a backup to a new or existing Android device, you must make sure USB debugging is enabled, run the Helium desktop app on your computer, and connect your Android device to your computer, like we discussed earlier in this article. Once Helium is enabled on your device, open it and tap the “Restore and Sync” tab and then tap “Internal Storage” under “My Devices“.
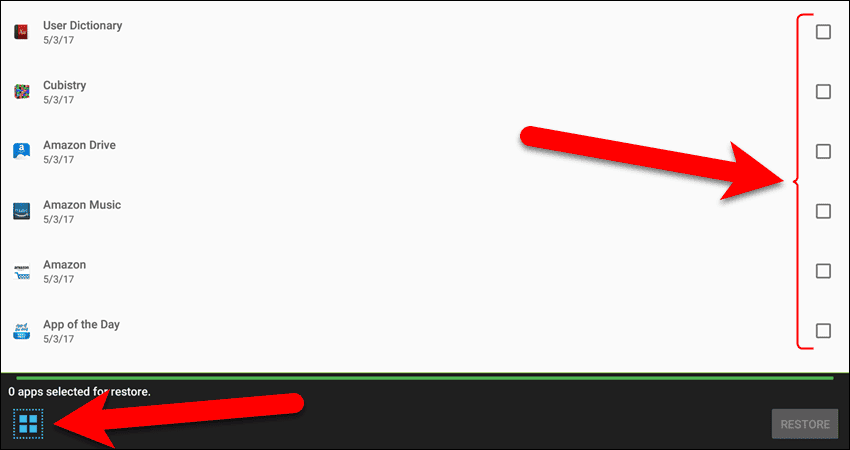
To only restore certain apps, check the box to the right of each app you want to restore. To restore all the backed up apps, tap the icon with the four blue squares, if you don’t see the options at the bottom of the screen.
Then, tap “Select All“.
Small thumbnails of all the apps that will be restored display under the “X apps selected for restore” heading. Notice 189 apps have been selected to be backed up, but Helium is only restoring app data for 32 of them. This is because we only backed up the app data and not the apps themselves. Only 32 of them had any data to back up, so only the app data for those apps will be restored. Click “Restore“.
The progress of the restoration will show.
When all the app data (and apps, if they were backed up also) has been restored, you’ll see a dialog box indicating the restore is complete. Click “OK” to close it.
Did Helium work for you on your Android device? Do you use any other tools or methods for backing up your app data on your device? Let us know in the comments. Δ Contact Us :- trendblog.guest@gmail.com