After investigating the issue, we realized that there are actually a lot of different causes that might ultimately spawn this critical error code on Windows 11. Here’s a list of scenarios that you should be aware of:
1. Run the Hardware Troubleshooter
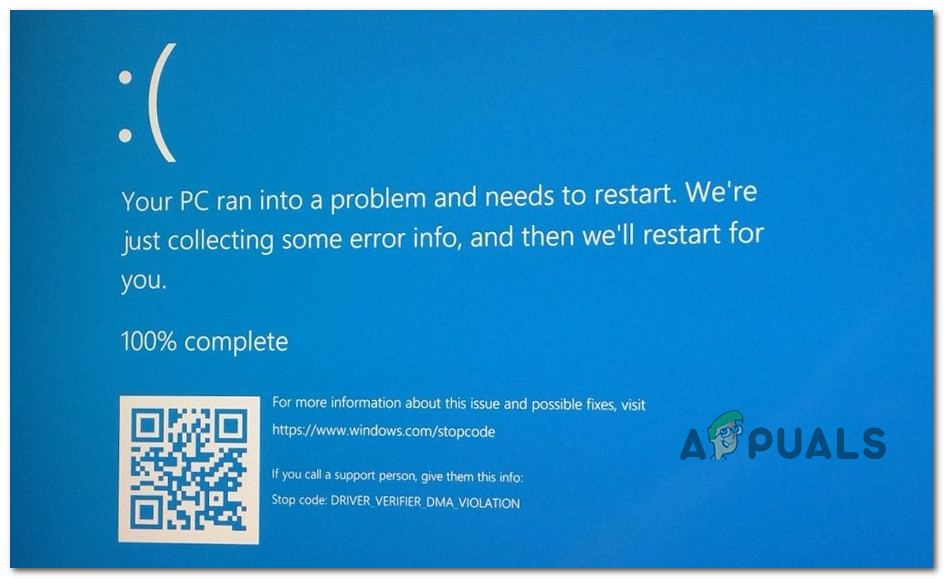
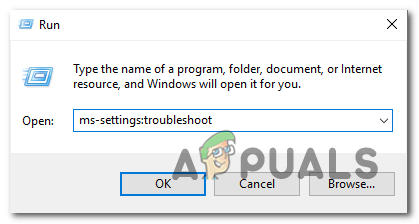
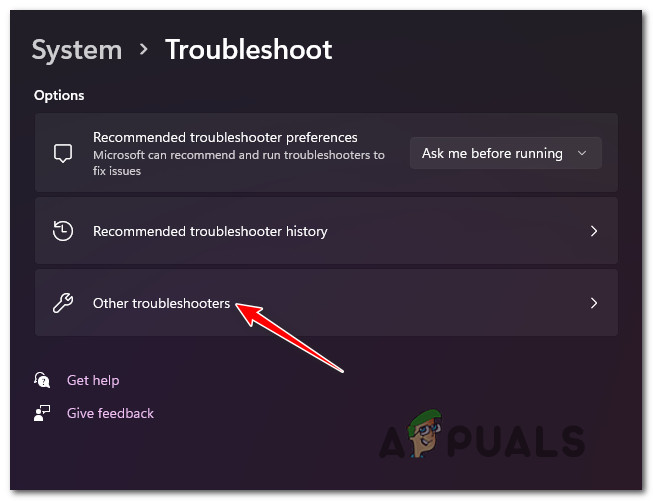
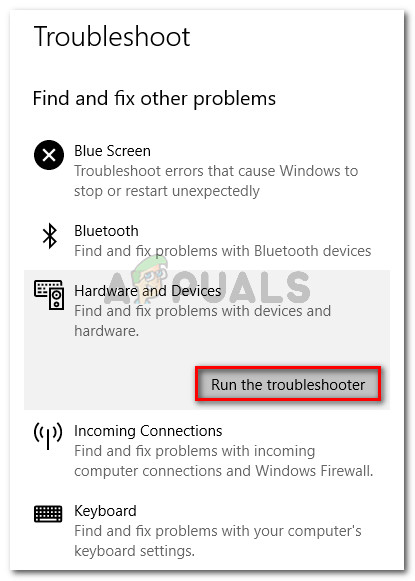
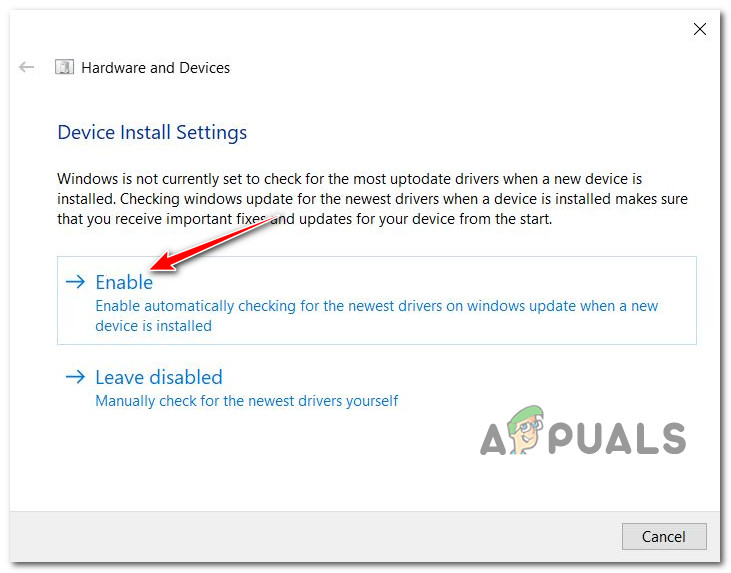
If you’re lucky enough to encounter this problem because of a driver inconsistency caused by a partial incompatibility (which happens a lot on Windows 11), then all you have to do is launch the Windows Hardware Troubleshooter and follow the instructions. If you just attached a new peripheral or external drive, this is likely the cause of the DRIVER VERIFIER DMA VIOLATION issue. In this case (and a few others), running the Hardware and Devices troubleshooter and applying the recommended repair is the simplest approach to resolve the problem. Note: This tool has a series of automated fixers that may be deployed automatically if a common circumstance is discovered. Run the hardware and device troubleshooter by following the steps below: If the problem is still not resolved, move down to the next method below.
2. Disable Driver Verifier
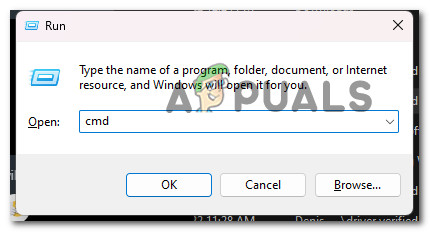
The quickest method to halt this catastrophic system crash without getting to the cause of the problem is to disable the whole Driver Verifier component. This may be done via a Command Prompt window with elevated privileges. Several users dealing with the same problem have confirmed that once they accessed an elevated command prompt and disabled the Driver Verified component, the critical crashes with the DRIVER VERIFIER DMA VIOLATION stopped occurring. Important: Keep in mind that this will not help you get to the root cause of this issue. Disabling the Driver verifier also means that you will lose the core functionality of this component. If you decide to pursue this method, follow the instructions below: If you’re still dealing with the same DRIVER VERIFIER DMA VIOLATION, try the next fix below.
3. Reinstall the USB Controller drivers
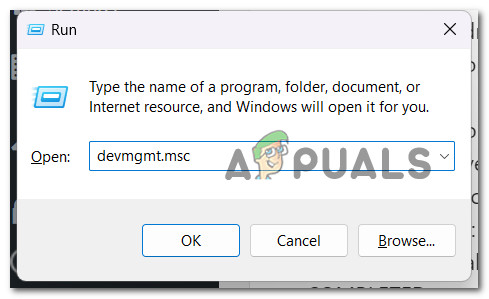
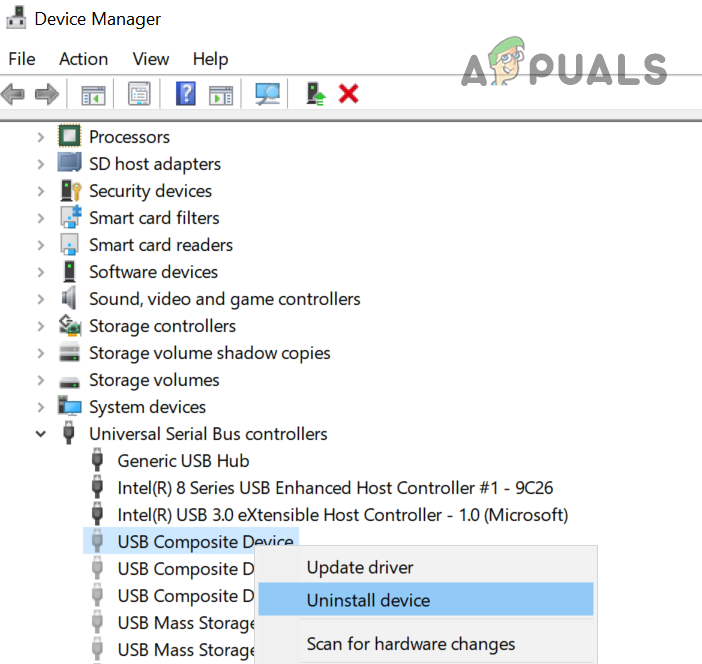
Several impacted consumers with whom we’re also dealing with this issue have reported that the problem was resolved in their situation when they upgraded the USB Controller driver to the most recent version. You’ll need to go into Device Manager and manually update every USB driver under Universal Serial Bus Controllers to repair this problem. This solution has been proven to work in circumstances when upgrading Windows 11 resulted in the same blue screen of death (DRIVER VERIFIER DMA VIOLATION). If this describes your situation, follow the steps below to replace all USB 2.0 and USB 3.0 drivers: If the problem persists, move on to the next possible solution listed below.
4. Update Intel Drivers (if applicable)
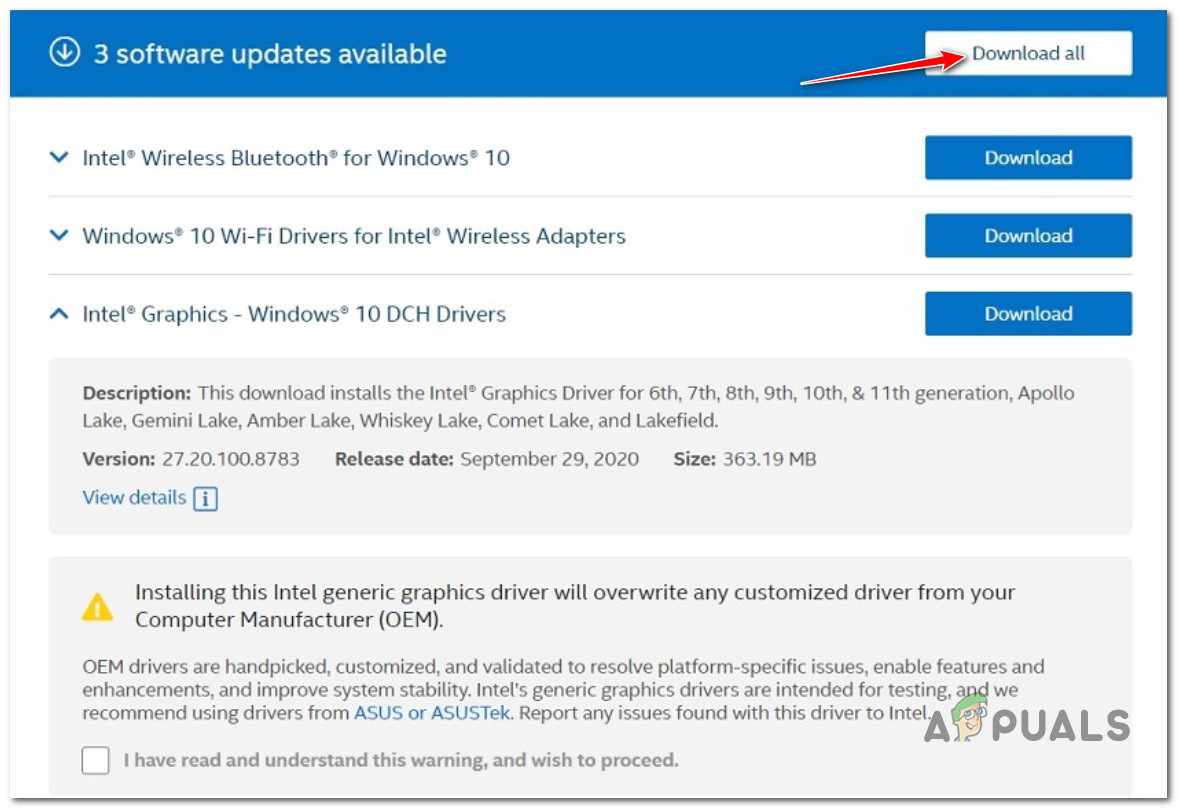
Windows 11 is significantly more reliant on a set of Intel firmware drivers. This behavior might be caused by more than 7 Intel-signed drivers, according to a kernel expert. In this case, running the Intel Update Assistant and installing the pending driver updates is the best method to fix the problem. Several additional customers who have experienced the DRIVER VERIFIER DMA VIOLATION problem have reported that the crashes ceased after using the Intel Driver Assistant to replace the generic counterparts of the CPU, Bluetooth, and Wi-Fi Card drivers with Intel equivalents. If you wish to try this repair as well, follow the steps below: If the same error code is still happening, try the next method below.
5. Update dedicated GPU drivers (if applicable)
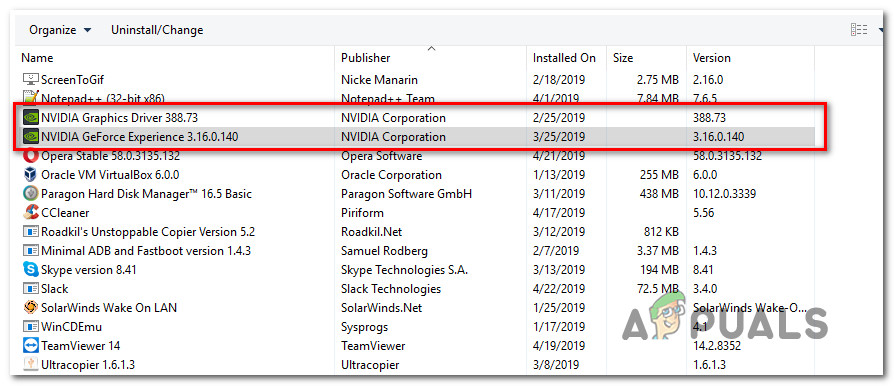
As it turns out, you can run into this problem if you’re running an AMD or NVIDIA driver that isn’t compatible with Windows 11. In this instance, you can address the problem by updating your current driver to the most recent version of a suitable driver. The optimum approach to accomplish this is to use the specialized tool (from AMD or Nvidia) to ensure that you’re installing the most recent driver version for your GPU model. Follow one of the sub-guides below to verify that you’re operating on the newest GPU drivers, depending on whether you’re on the Nvidia or AMD side:
5.1. Upgrade your Nvidia GPU driver
If you suspect that your GPU driver fleet has been corrupted, Nvidia suggests that you take the time to delete every leftover driver file before installing the current version. This will allow you to switch to the generic driver for a short time and guarantee that the installation of the new GPU drivers goes well. To update to the newest Nvidia GPU for your specific model, follow the instructions below:
5.1. Upgrade your AMD GPU driver
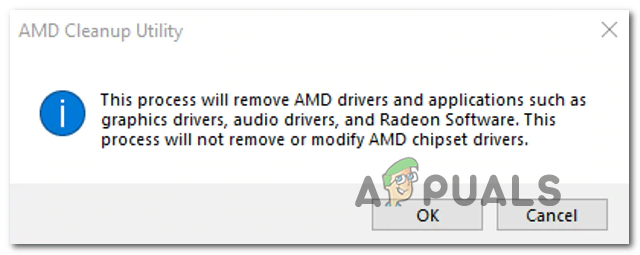
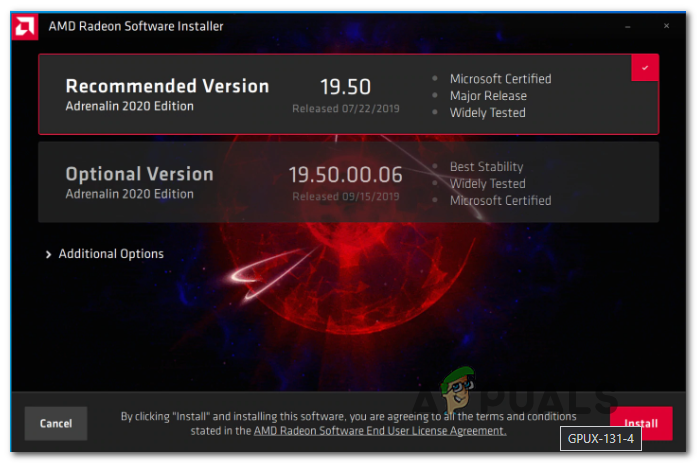
If you use an AMD graphics card, however, you should absolutely run the cleanup application before updating your current driver; doing so will guarantee that you erase any remaining files from the previous driver installation and start again. After that, you may use the Auto-Detect program to safely download the newest GPU version. Here are all of the steps in this procedure: If the same kind of problem is still occurring, move down to the next fix below.
6. Update BIOS to the latest version
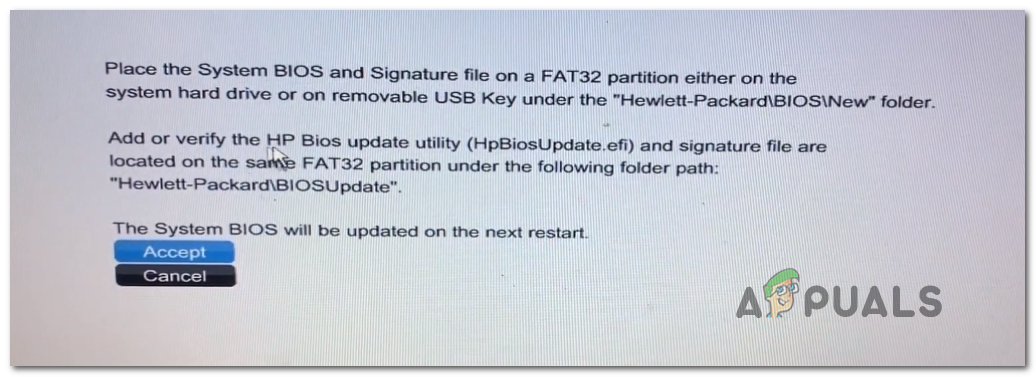
Your BIOS is another possible culprit that you should look at. According to several afflicted customers, the problem was resolved totally once they updated their BIOS firmware to the most recent version. For ASUS PCs, this strategy has mostly been verified to be effective. It’s fairly unusual for an outdated BIOS version to cause system instability, especially on older motherboards. Keep in mind that changing your motherboard’s BIOS version isn’t as difficult as it once was – every major motherboard manufacturer now has flashing software that allows you to upgrade your BIOS without having to become too technical. The best course of action is to go to your motherboard manufacturer’s website and look for a BIOS upgrading application on the Drivers Download page – ASUS has E-Z Flash, MSI has MFlash, Gigabyte offers @BIOS Live Update, and so on. Note: Before beginning the process of updating your BIOS, read the official documentation completely, regardless of the BIOS manufacturer. If you perform this procedure improperly, you risk bricking the hardware, which will necessitate the assistance of a qualified specialist. Follow the on-screen directions to upgrade your BIOS to the most recent version, then restart your computer to check whether the DRIVER VERIFIER DMA VIOLATION problem has been resolved. If you already have the newest BIOS for your motherboard or if this approach did not work for you, try the next method below.
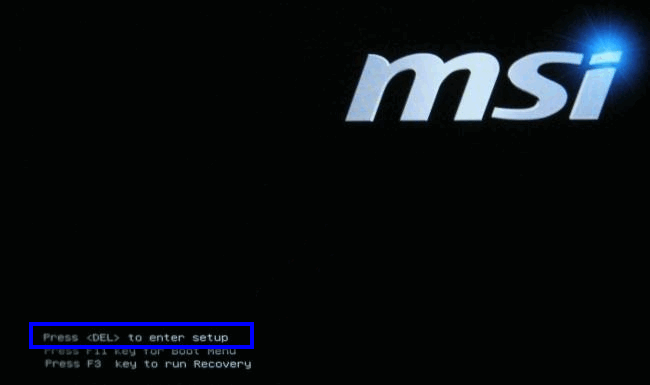
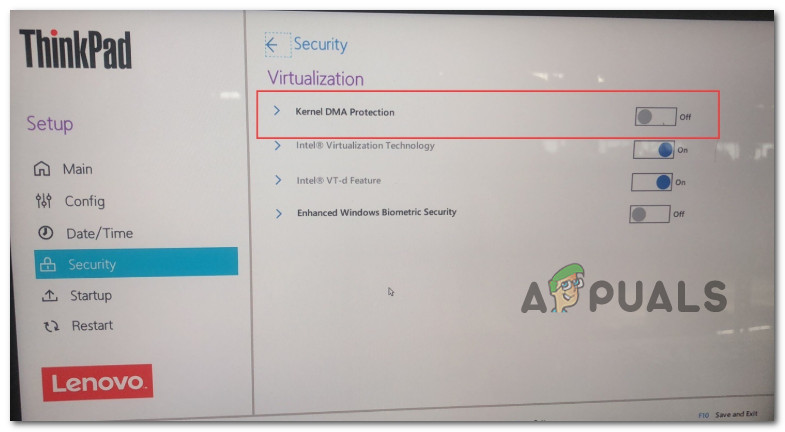
7. Disable Kernel DMA Protection in BIOS
You may encounter this issue in some circumstances owing to a process conflict caused by the Kernel DMA Protection security feature included on some outdated BIOS. To avoid this problem, go into your BIOS and turn off Kernel DMA Protection. Several affected users have confirmed that once they accessed their BIOS and disabled Kernel DMA Protection from the Security (Virtualization) tab, the DRIVER VERIFIER DMA VIOLATION problem stopped occurring. If you want to pursue this potential fix, follow the instructions below for specific instructions on accessing the BIOS settings and disabling Kernel DMA Protection: In case you’re still dealing with the same DRIVER VERIFIER DMA VIOLATION, try the next method below.
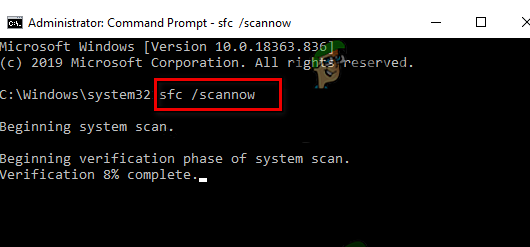
8. Run DISM and SFC Scans
A system file corruption that affects the process of calling dependencies involved in the operation of installing drivers and software updates is one of the most prevalent causes of the ‘DRIVER VERIFIER DMA VIOLATION’ problem. If this appears to be the case, run a scan with two built-in tools: System File Checker (SFC) and Deployment Image Servicing and Management (DISM). While SFC and DISM are comparable in some ways, we recommend running them both in quick succession to increase your chances of recovering corrupted system data. Start with a simple SFC scan if this is the case. Keep in mind that this is a completely local tool that does not require you to be connected to the internet at all times. IMPORTANT: Even if the utility appears to have paused, do not close the CMD window after starting this procedure. Wait for the procedure to finish without interfering, since doing so might result in logical errors on your HDD or SSD. After the SFC scan has been completed successfully, reboot your computer and check to see if the problem has been resolved on the next restart. If the ‘DRIVER_VERIFIER_DMA_VIOLATION‘ problem persists, run a DISM scan and follow the on-screen directions to finish the operation. Note that DISM uses a sub-component of Windows Update to obtain healthy replacements for damaged system files, but SFC does not. As a result, make sure you have a stable Internet connection before beginning this step. Restart your computer after the DISM scan has been completed successfully to see whether the ‘DRIVER_VERIFIER_DMA_VIOLATION‘ issue has been resolved. If you’re still having difficulties installing updates and programs that require this, try the next step below.
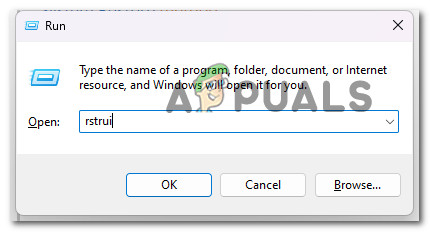
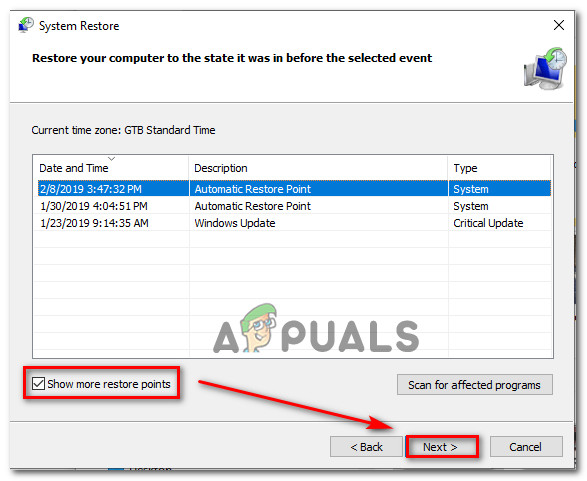
9. Run the System Restore
Because Windows contains so many moving elements, there are several situations that might cause a severe system breakdown. This issue is most usually caused by a recent system change (such as a recently installed update, an app installation, or an antivirus check). Using the System Restore application to restore your PC to a state where the problem was not present is one technique to return to a healthy condition without uncovering the broken software component. In this case, the majority of the damage may be averted by using System Restore to return your system to a healthy condition previous to the apparition of the ‘DRIVER_VERIFIER_DMA_VIOLATION‘ issue. IMPORTANT: Remember that using this procedure will wipe out any modifications made since the system restore point was established. Everything, including any installed apps, altered system preferences, and more, will be lost. If you’ve decided to restore your system, follow these steps: If the problem persists, proceed to the next procedure below.
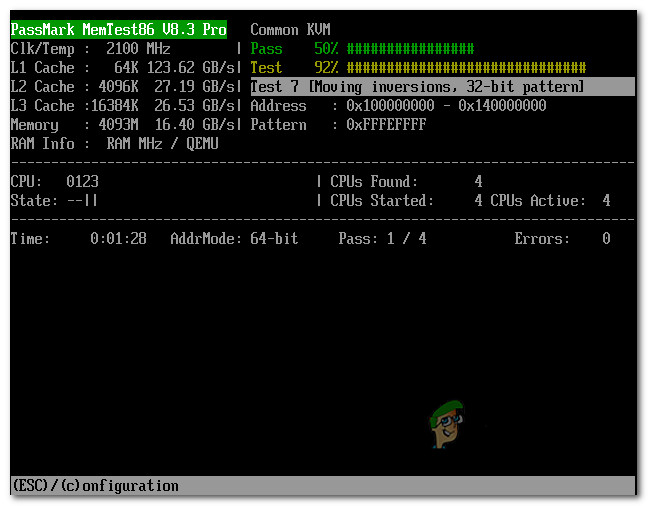
10. Verify your RAM (test memory)
Unfortunately, a hardware issue might also be the source of this problem. Some of the impacted individuals explained that the problem arose because their available RAM began to fail. In this instance, your only option is to check the status of your memory sticks and, if required, replace them. This error message is frequently related to a memory problem. If none of the techniques above have led you to a possible culprit, you should test your RAM stick(s) to determine if there’s a problem with them that’s causing the Windows Memory Diagnostic tool to display the ‘Hardware problems were found’ message Whether you’re using dual-channel RAM, start troubleshooting by removing only one stick and seeing if the issue disappears. You should also use a tool like Memtest to check the integrity of your RAM sticks. Important: If your RAM is currently overclocked, we recommend restoring any voltage overclocked frequency and doing a stress test using a tool like HWMonitor to monitor your temps. If a Memtest task on your RAM has found an underlying issue with your memory, your only option is to replace it. If your studies haven’t revealed an underlying problem with your RAM, continue on to the next possible solution below.
11. Repair or Reset Windows
If none of the procedures above have worked for you and you’ve ruled out the potential of a hardware problem, the only other probable cause of the DRIVER VERIFIER DMA VIOLATION error and subsequent system crash is underlying system file corruption. Because there are literally tens of thousands of potential causes, the most effective technique to ensure that your system does not crash due to system file corruption is to replace every Windows file with a healthy counterpart. You have two options when it comes to doing so: • Clean install – This is the simplest option, but you should be aware that any personal data on the operating system disk will be lost. This is the same as reinstalling Windows from scratch, so create a backup of your data if you’re presently keeping anything sensitive on the OS disk before proceeding. • Repair install – If you have the time, you should use this option since it will just change your Windows system files while leaving everything else alone. You can maintain your personal data, apps, games, and even certain user settings that are now saved on the OS disk if you repair the install (in-place mending).
FIX: Error 0x80246002 and BSOD during Windows Update in Windows 10FIX: KERNEL_SECURITY_CHECK_FAILURE BSOD in Windows 10How to Fix igdkmd64.sys BSOD on Windows 10Fix: DRIVER_OVERRAN_STACK_BUFFER BSOD on Windows 10