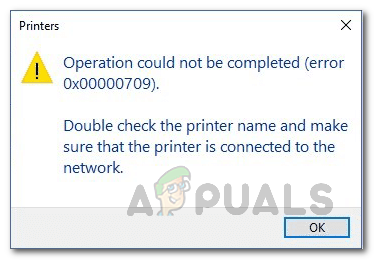
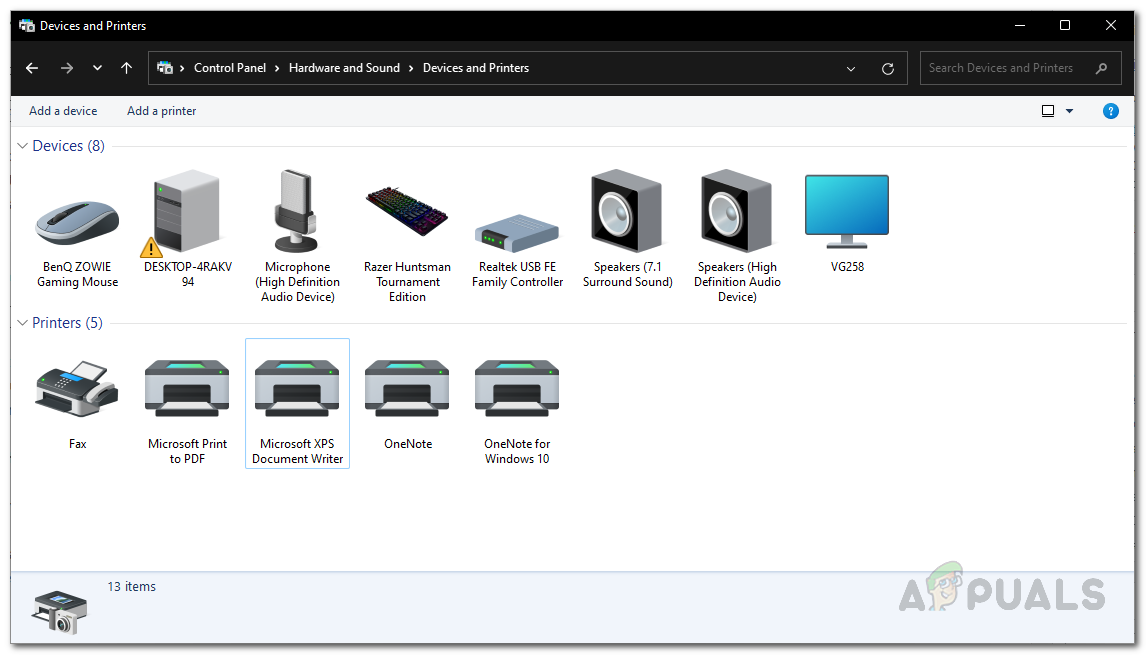
As it turns out, printers remain to be one of the widely used devices, especially in a work environment. Not only that, some of us use printers in our homes for our convenience. When you set a default printer, all the print jobs are sent to the selected printer automatically instead of selecting a printer every time you wish to print something which can be quite repetitive. In some cases, Windows may refuse to change the default printer on your computer. In such a scenario, you can get the job done quite easily by modifying some keys in your Windows Registry. With that said, let us get started and show you how to change your default printer on your operating system without any issues.
Change Default Printer via Windows Registry
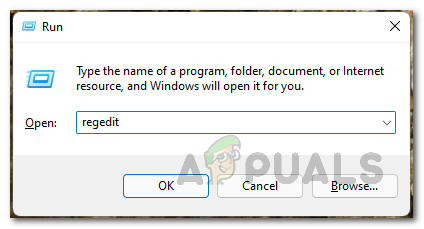
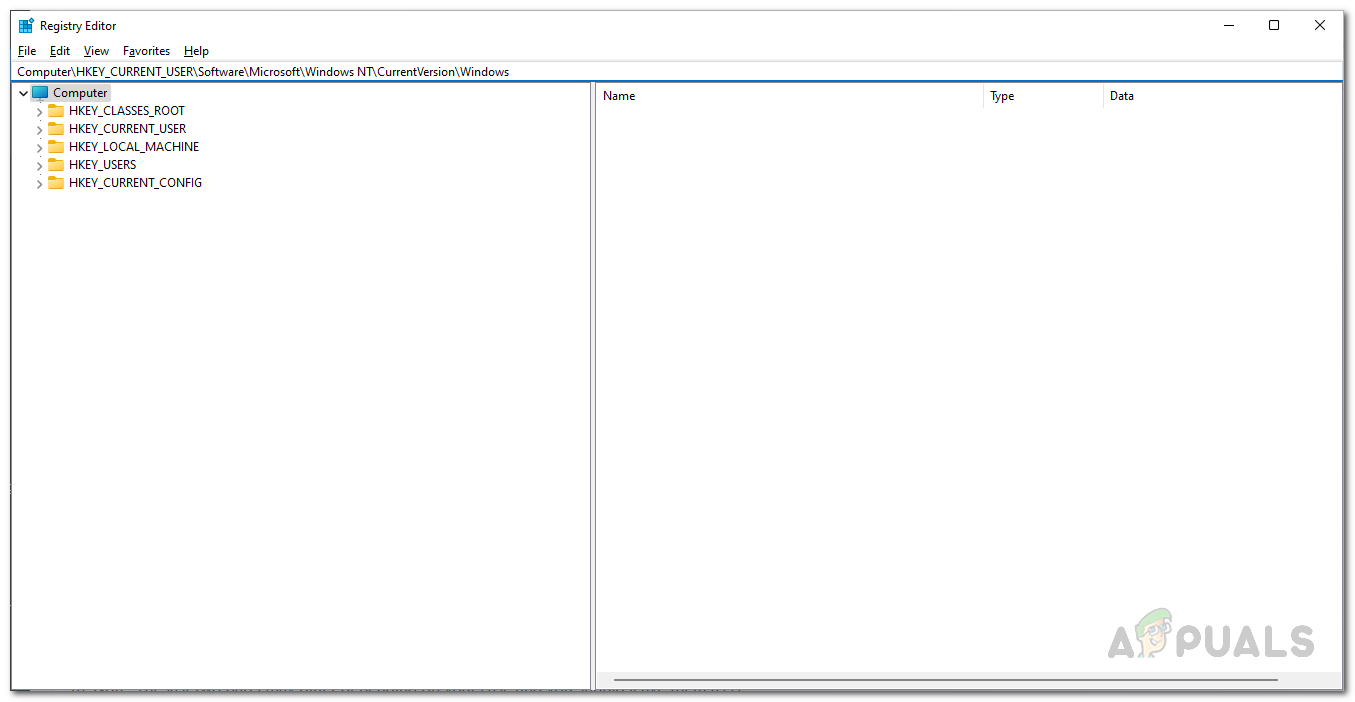
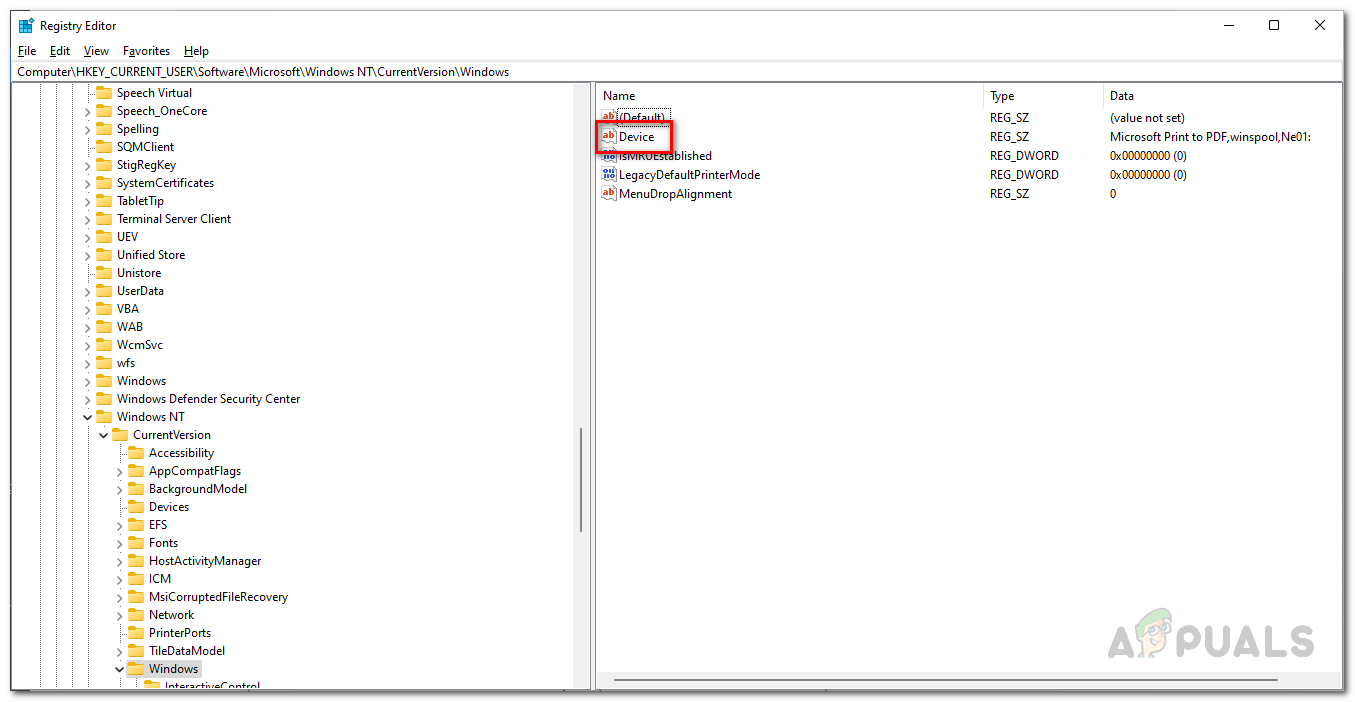
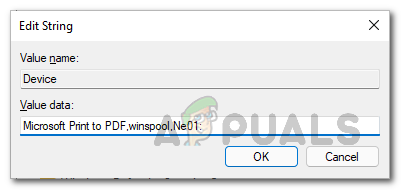
As it turns out, when you are encountering the 0x00000709 error code when trying to change the default printer on your computer, do not worry as there are alternate ways to changing the default printer. In such a case, what you can do as we have mentioned previously, is to use the Windows Registry to change the default printer on your computer. Windows Registry is responsible for how the operating system on your computer behaves and such it stores the default printer in a key. When facing the problem in question, you can edit this key to change the default printer on your computer. Normally, making changes to the Windows Registry is not recommended especially when you do not know what you are doing. This is because any unwanted changes can deal serious damage to the operating system. Therefore, before proceeding with the instructions that we are going to provide, we would recommend creating a backup of the Windows Registry in case anything goes wrong. The instructions down below are pretty straightforward and if you follow them strictly, you won’t be facing any issues. With that said, let us get started and show you how to change the default printer via Windows Registry:
Clear Printers Folder
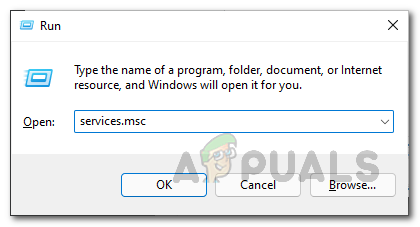
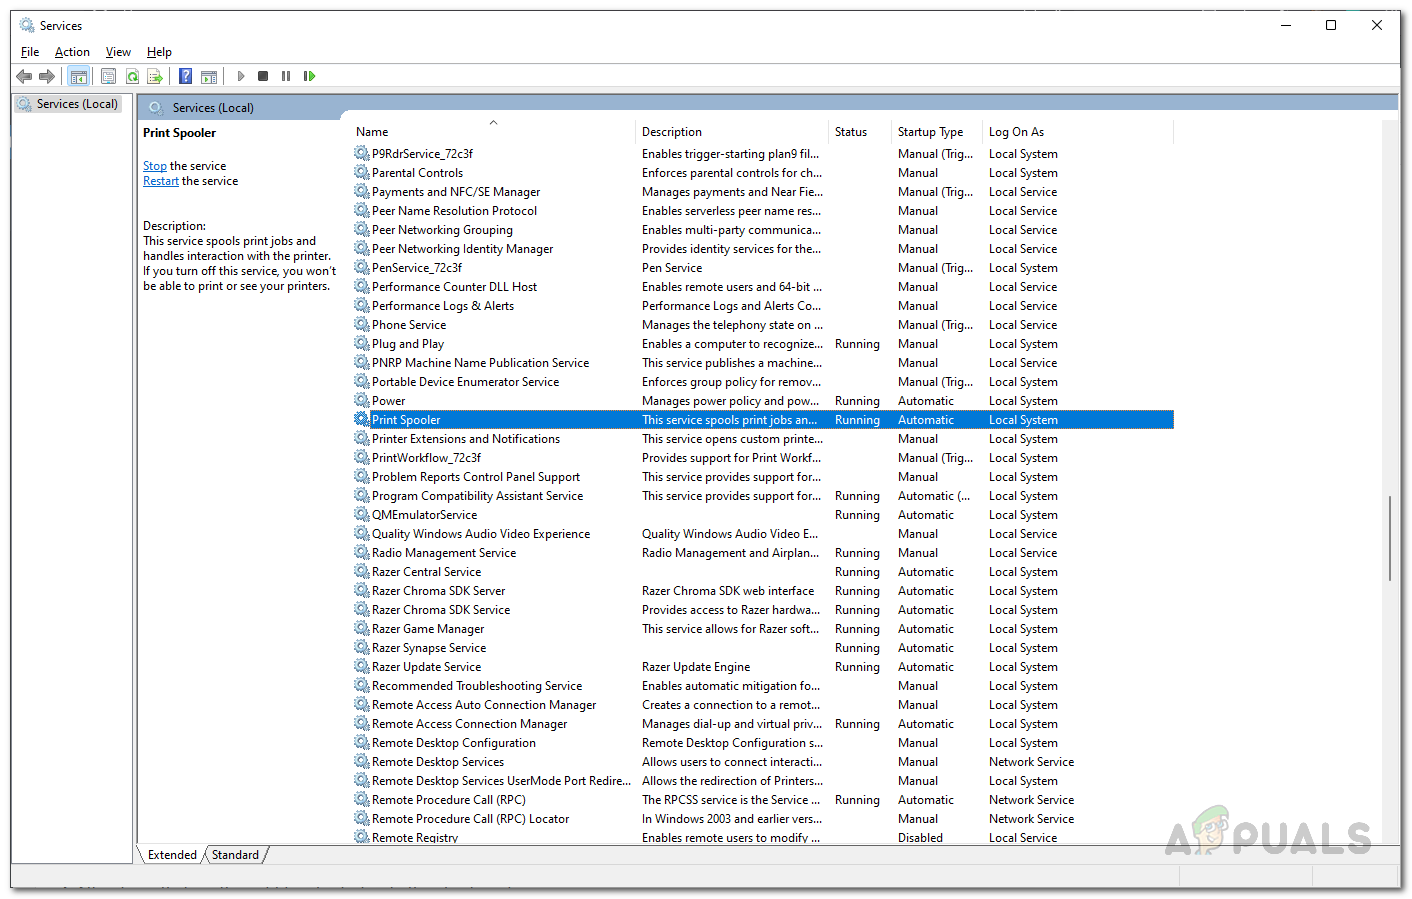
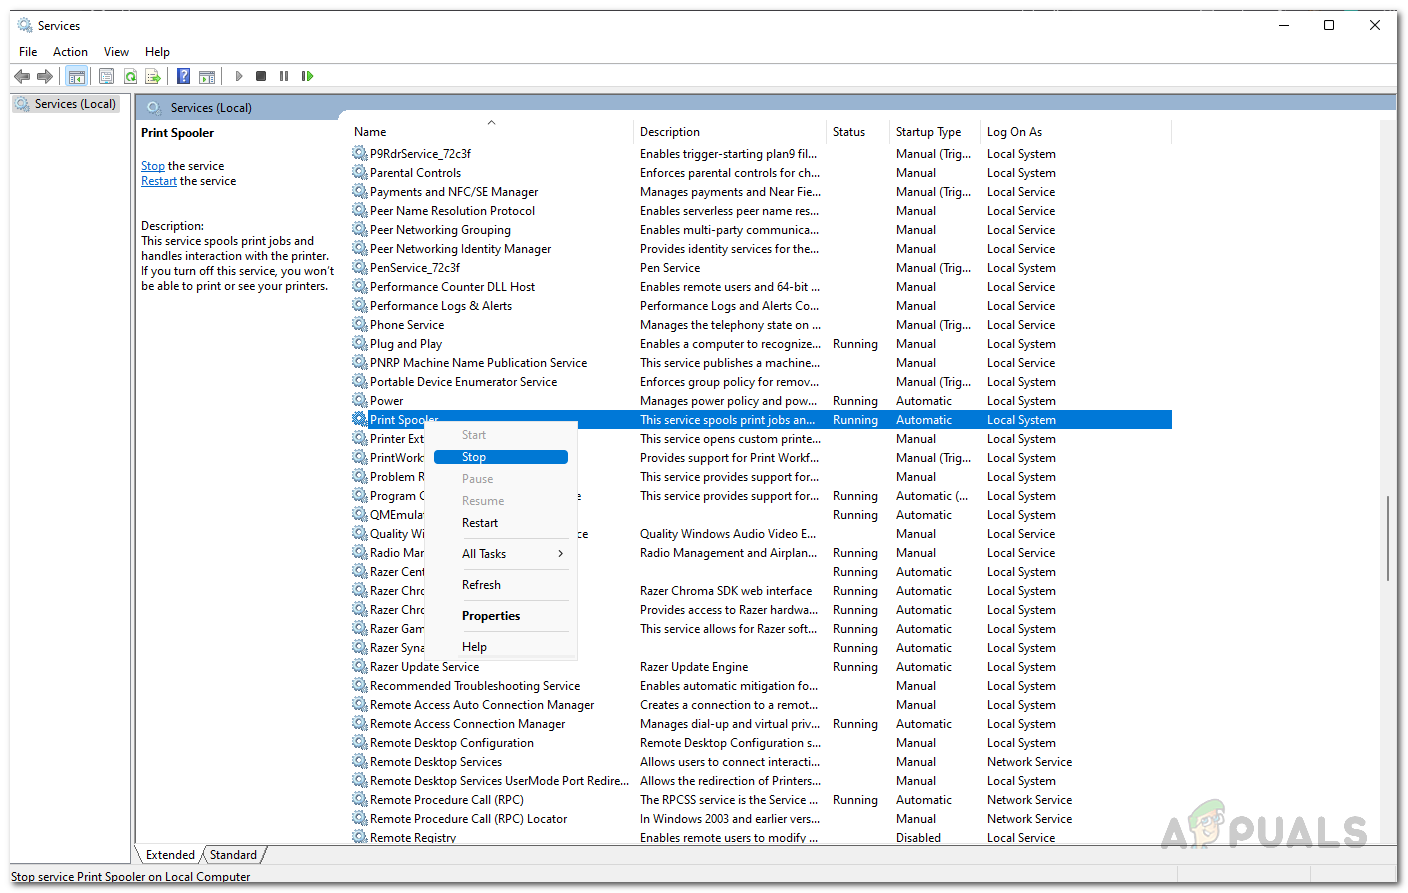
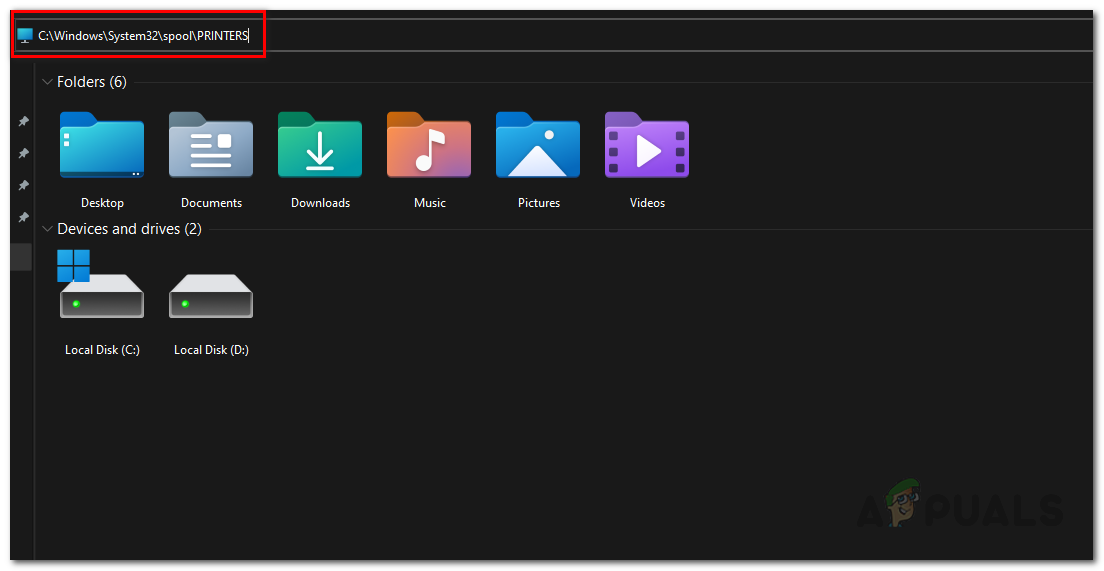
If you are facing the issue in a network where a deleted printer keeps on coming back, you can solve the problem by clearing out the printer’s folder that resides on your computer. These are called ghost printers and there are a few ways you can clear them out. One way of doing this would be to empty a printer’s folder as we have mentioned. To do this, you will first have to stop the Print Spooler service. Follow the instructions down below to do this:
Use Print Management
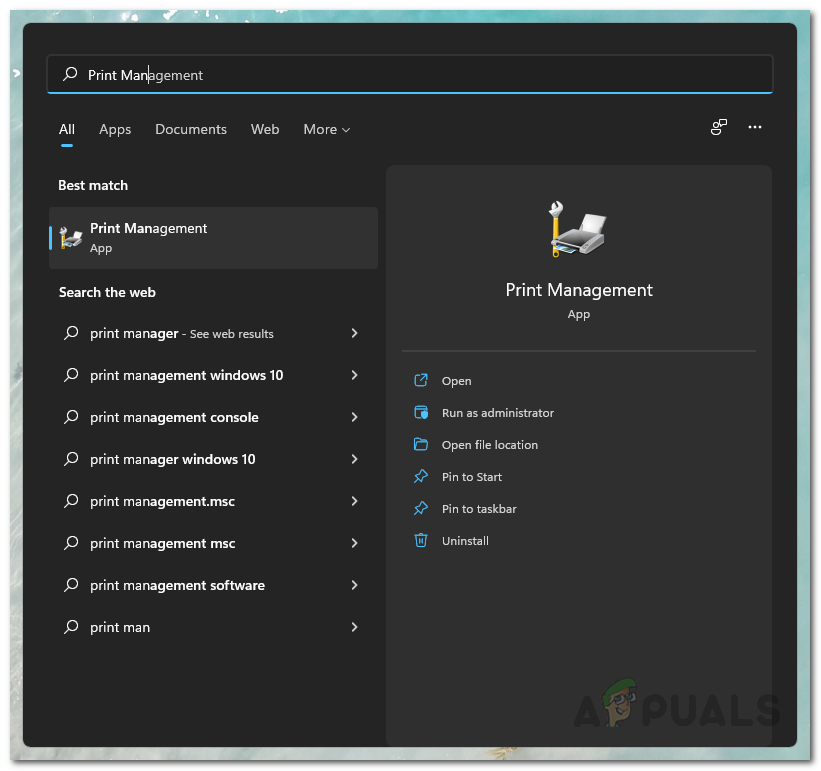
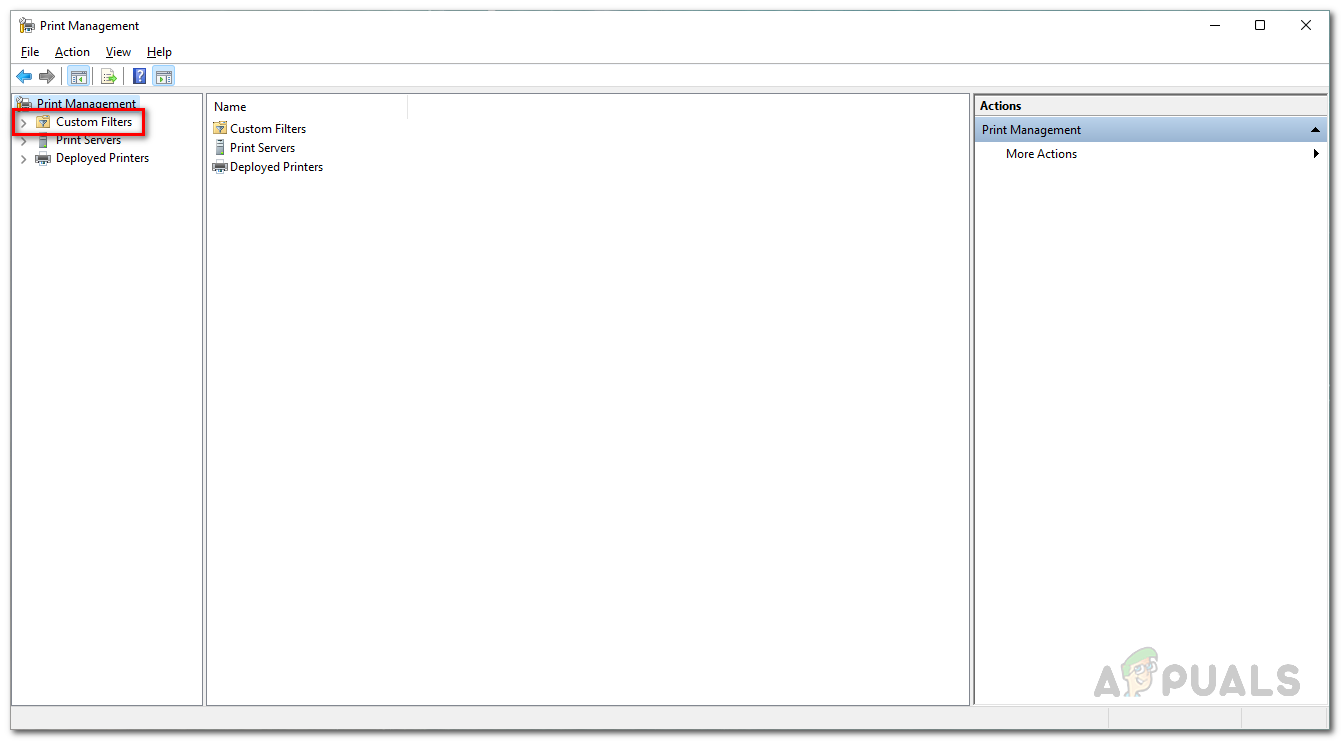
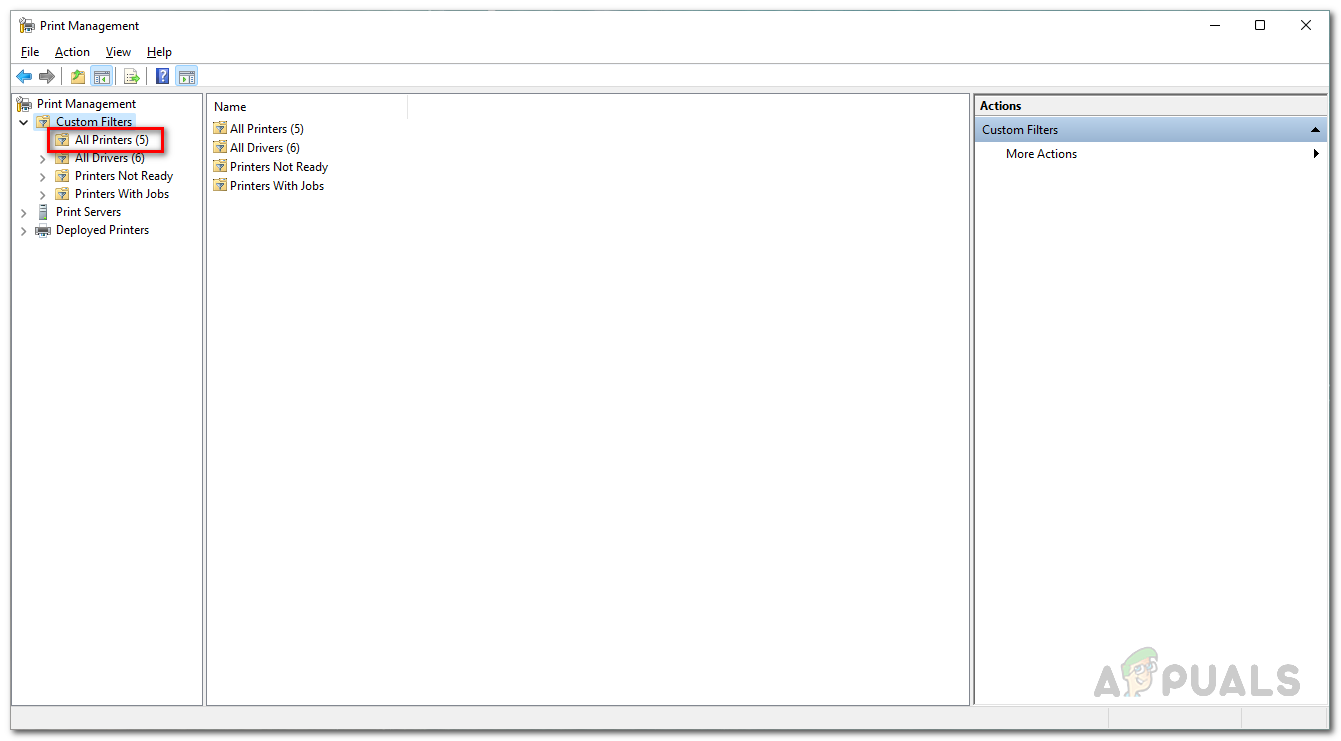
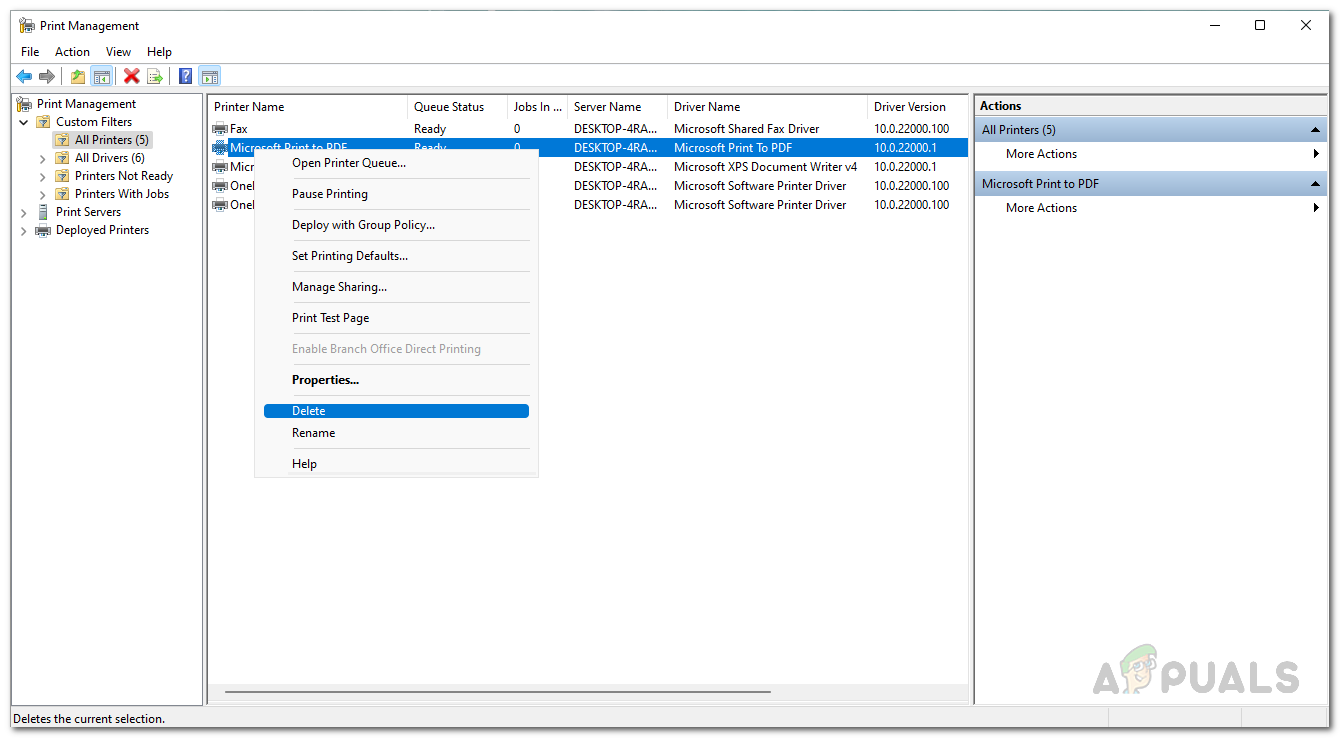
As it turns out, another way that you can get rid of the ghost printer is through the Print Management utility which lets you manage and handle all the printers that are connected to your computer. This includes any print servers and more. To use the print management utility, follow the instructions given down below:
How to Fix Printer Driver ‘Error 0x80070705’ (Unknown Printer Driver)FIX: Default Printer Keeps Changing on Windows 10How to Turn USB Printer into a Wireless Printer using Airport ExpressHow to Fix “Error: UnsupportedProtocol” PCL XL Error on a Printer?
